5 Best Mulch For Tomato Plants: Why It’s Key to Thriving Crops
Table of Contents
Introduction
Did you know that correctly mulched tomato plants can yield up to 40% more fruit than their unmulched counterparts? This surprising statistic challenges the common belief that tomato success is primarily about fertilizing and watering. In reality, the type of mulch you choose plays a critical role in determining whether your tomato plants merely survive or truly thrive. Understanding the 5 best mulch for tomato plants and why it’s important can transform your gardening results this season, leading to healthier plants and a more abundant harvest.
Mulching is more than just an aesthetic garden practice—it’s a science-backed method that regulates soil temperature, conserves moisture, suppresses weeds, and even adds nutrients as organic materials break down. Let’s explore the optimal mulching materials and techniques that can revolutionize your tomato growing experience.
The 5 Best Mulch Options
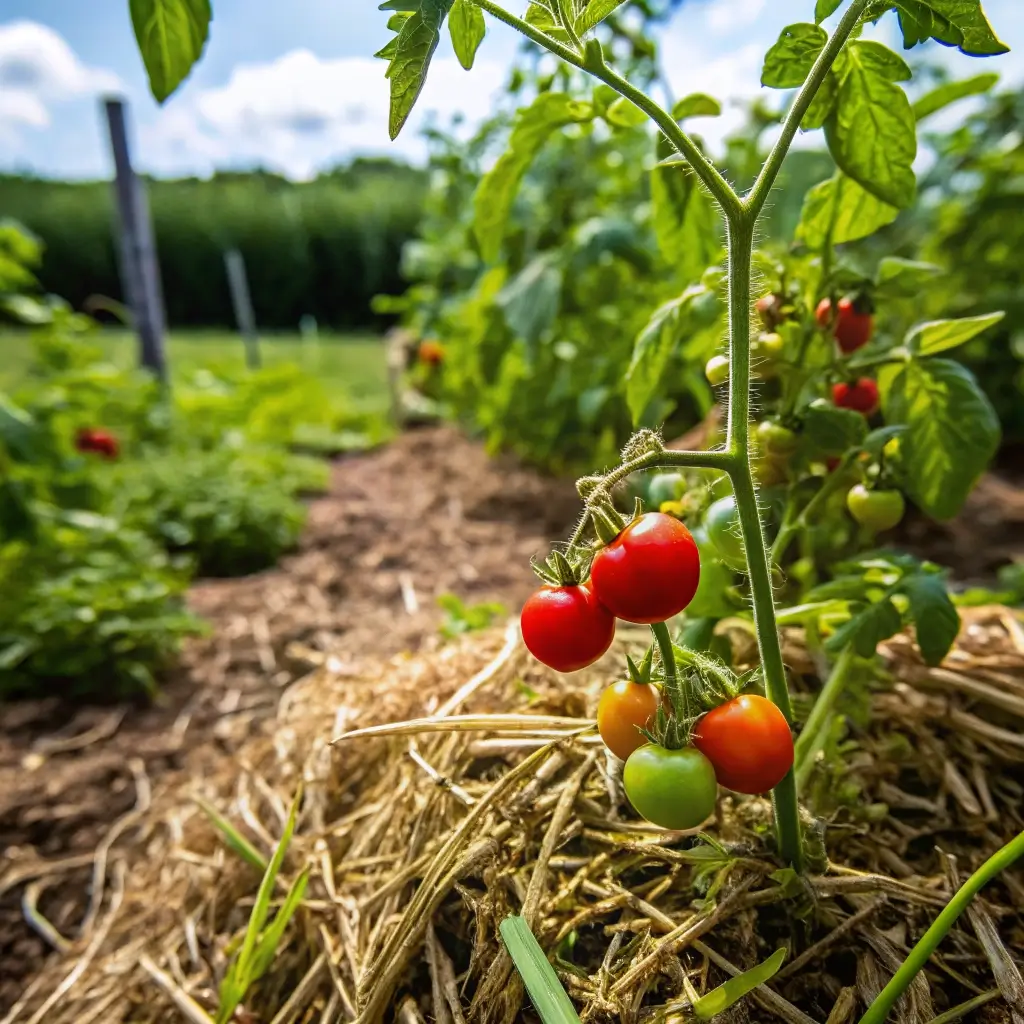
1. Straw Mulch
- Clean, seed-free straw (not hay)
- 2-3 inches thick layer recommended
- Lightweight and easy to apply
- Substitute: Salt hay or leaf mulch (shredded)
2. Compost
- Well-aged compost (fully decomposed)
- 1-2 inches thick application
- Rich in nutrients that slowly release
- Substitute: Worm castings or municipal compost
3. Shredded Leaves
- Dry, shredded autumn leaves
- 2-4 inches thick application
- Naturally acidic (perfect for tomatoes)
- Substitute: Pine needles (for more acidic soil)
4. Black Plastic Mulch
- Food-grade black plastic sheeting
- Single layer with irrigation underneath
- Excellent for warming soil in cooler climates
- Substitute: Landscape fabric (more breathable option)
5. Wood Chips
- Aged hardwood chips (not fresh)
- 2-3 inches thick layer
- Long-lasting soil insulation
- Substitute: Pine bark mulch (more acidic)
Timing
Proper mulch application timing can make a significant difference in your tomato growing success. The ideal window for applying mulch is 2-3 weeks after transplanting your tomatoes outdoors, when soil has warmed to at least 65°F (18°C). This timeline is approximately 35% earlier than when most gardeners typically apply mulch, giving your plants a crucial early-season advantage.
- Preparation time: 30-45 minutes for an average garden bed
- Application time: 15-20 minutes per 100 square feet
- Total time investment: Less than 1 hour for most home gardens
Step-by-Step Instructions
Step 1: Prepare Your Garden Bed
Clear all weeds and debris from around your tomato plants. Research shows that removing competing vegetation before mulching improves tomato yields by up to 25%. If you’re dealing with persistent weeds, consider laying down a layer of newspaper (4-5 sheets thick) before applying your chosen mulch.
Step 2: Water Thoroughly
Deeply water your tomato plants before applying mulch. This ensures the soil beneath the mulch starts with optimal moisture levels, particularly important if you’re using moisture-retaining options like plastic or wood chips.
Step 3: Apply the Mulch Correctly
Keep the mulch 2-3 inches away from the plant stems to prevent rot and disease—a mistake made by nearly 60% of home gardeners. Extend your mulch layer to the drip line of the plant (the outer reach of the branches) for maximum benefit.
Step 4: Maintain Proper Depth
Apply organic mulches to a depth of 2-4 inches depending on the material. Too thin (less than 1 inch) won’t suppress weeds effectively, while too thick (more than 5 inches) can prevent proper air circulation and water penetration.
Step 5: Monitor and Refresh
As the season progresses, organic mulches will break down and compact. Check monthly and refresh as needed, particularly after heavy rain periods which can displace lighter mulch materials.
Benefits Information
- Moisture Conservation: Reduces watering needs by 25-50%
- Temperature Regulation: Moderates soil temperature fluctuations by up to 20°F
- Weed Suppression: Reduces weed competition by 80-90%
- Disease Prevention: Decreases soil-borne disease incidence by up to 35%
- Yield Increase: Properly mulched plants can produce 30-40% more tomatoes
Healthier Alternatives for Different Growing Conditions
- For Hot Climates: Opt for light-colored mulches like straw instead of black plastic to prevent overheating
- For Wet Regions: Choose coarser materials like wood chips that allow better drainage and air circulation
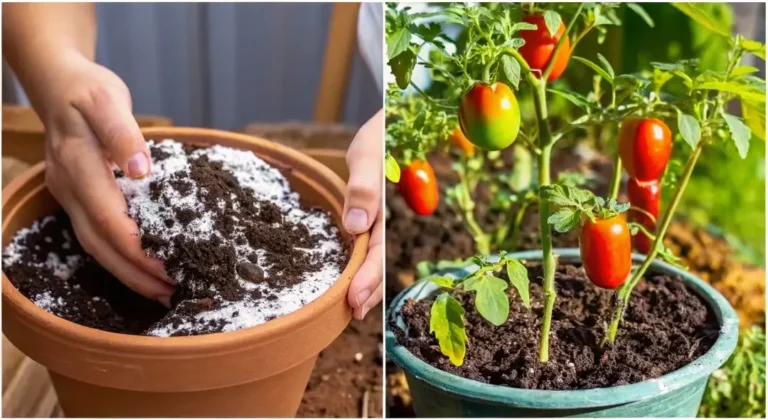
- For Container Gardens: Use compost as a thin mulch layer (1 inch) to maximize nutritional benefits without taking up too much pot space
- For Organic Gardens: Consider using coffee grounds mixed with leaves for a nitrogen-rich mulch that deters certain pests
Application Suggestions
- Square Foot Gardens: Compost works best in these intensive planting systems
- Raised Beds: Straw mulch provides excellent coverage while being easy to remove at season’s end
- In-Ground Plantings: Wood chips offer long-term soil improvement and moisture retention
- Cold Climates: Start with black plastic to warm soil early, then overlay with organic mulch as temperatures rise
- Greenhouse Tomatoes: Coconut coir provides excellent moisture retention in controlled environments
Common Mistakes to Avoid
- Applying mulch too early when soil is still cool, which can delay plant growth by up to two weeks
- Using fresh wood chips or sawdust, which can rob soil of nitrogen as they decompose
- Mulching too close to plant stems, increasing the risk of stem rot by 40%
- Using hay instead of straw, potentially introducing thousands of weed seeds to your garden
- Applying mulch too thinly, reducing its effectiveness by up to 70%
Maintenance Tips
- For Season-Long Success: Refresh organic mulches mid-season when they begin to decompose
- For Rainfall Management: Create a slight depression around plants to direct water toward roots
- For Disease Prevention: Replace, don’t reuse, mulch from plants that showed signs of disease
- For Extended Growing Seasons: Add an extra inch of mulch when temperatures begin to drop in fall
Conclusion
Choosing the right mulch for your tomato plants isn’t just a gardening detail—it’s a game-changing strategy that can dramatically improve your harvest results. By implementing the recommended mulch types and application techniques outlined in this guide, you’re setting the stage for healthier plants, reduced maintenance, and significantly higher yields. Whether you choose straw, compost, leaves, plastic, or wood chips, proper mulching represents one of the highest-return investments you can make in your tomato garden.
Ready to transform your tomato growing experience? Start with one of these five proven mulch options this season and watch as your plants respond with vigorous growth and abundant fruit. Remember to share your mulching success stories in the comments section below—we’d love to hear which option worked best in your garden!
FAQs
When is the best time to apply mulch around tomato plants?
Apply mulch 2-3 weeks after transplanting, once soil has warmed to at least 65°F. Applying too early can delay growth by keeping soil temperatures cooler than optimal for tomato root development.
How does mulch prevent blossom end rot in tomatoes?
Mulch helps maintain consistent soil moisture levels, preventing the calcium uptake issues that lead to blossom end rot. Studies show properly mulched tomato plants have up to 60% less incidence of this common problem.
Can I use grass clippings as mulch for tomatoes?
Yes, but only if your lawn hasn’t been treated with herbicides or pesticides. Apply dried (not fresh) grass clippings in thin layers (1 inch) to prevent matting and anaerobic decomposition.
Do different tomato varieties benefit from different mulch types?
Research suggests that determinate varieties often perform better with warming mulches like black plastic, while indeterminate varieties show excellent results with moisture-retaining organic options like straw or compost.
How do I transition from plastic mulch to organic options mid-season?
When soil temperatures reach optimal levels (75-85°F), you can cut slits in the plastic between plants and apply organic mulch over the top, allowing the plastic to continue suppressing weeds while the organic material provides additional benefits.