“1 Irresistible Burnt Basque Cheesecake for Small Pans”
Oh my goodness, let me tell you about my latest obsession – this ridiculously easy Burnt Basque Cheesecake that fits perfectly in your loaf pan! I stumbled upon this gem when I desperately needed a small-batch dessert for a last-minute dinner party. The moment I pulled that beautifully caramelized, slightly charred top from the oven, I knew I’d found something special.
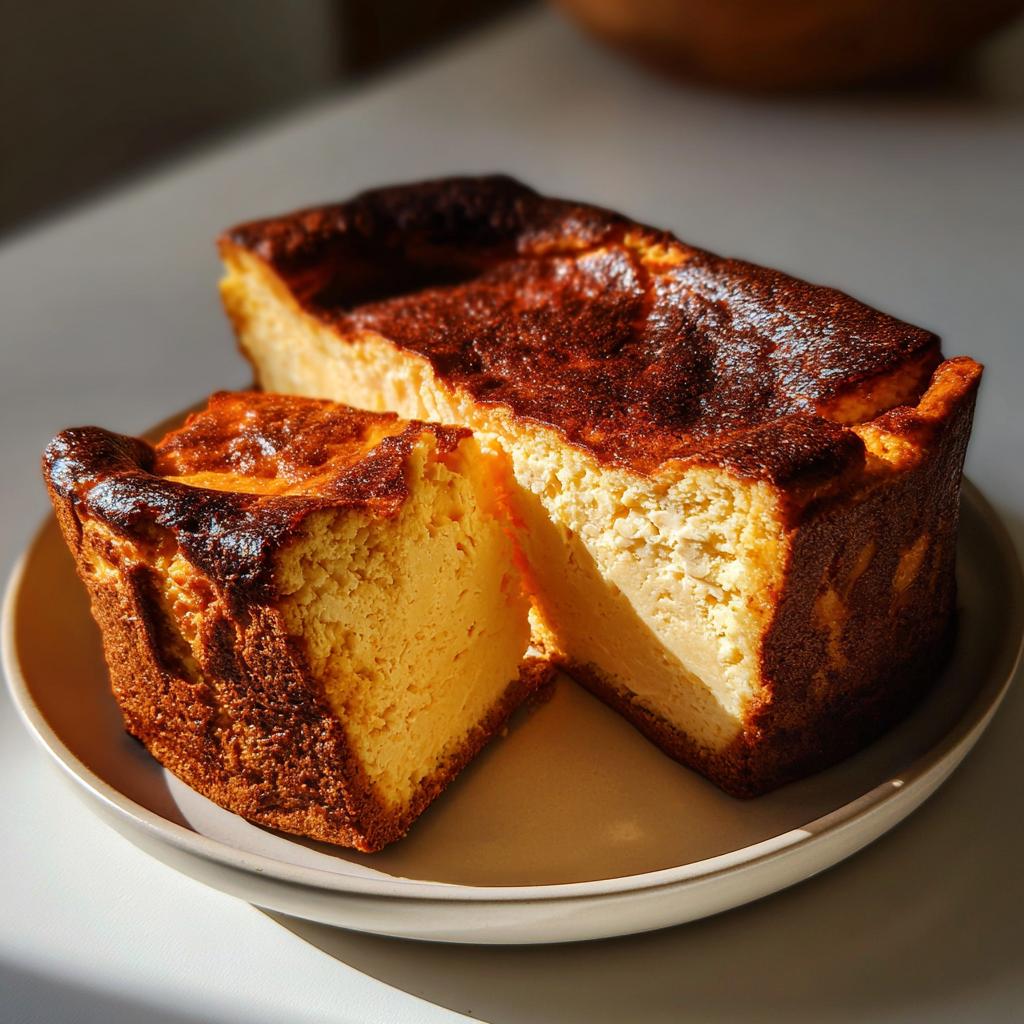
What I love most is how forgiving this recipe is – no fussy water baths, no stressing over cracks (they’re part of the charm!), and just six simple ingredients you probably already have. That gorgeous dark crust gives way to the creamiest center you’ll ever taste. Trust me, once you try this Spanish-inspired beauty, you’ll be making it every weekend like I do!
The best part? It’s practically foolproof. Even my first attempt came out restaurant-worthy, and I’m the type who usually burns boxed brownies. If you’ve ever been intimidated by cheesecakes before, this loaf pan version is your gateway to baking confidence. See more baking tips on our blog!
Why You’ll Love This Burnt Basque Cheesecake That Fits Your Loaf Pan
Let me count the ways this cheesecake will steal your heart:
- No water bath drama! Unlike traditional cheesecakes, this rustic beauty embraces imperfections – the cracks and dark spots are what make it special.
- Small but mighty. Perfect for when you need just enough dessert for a cozy night in (or, let’s be real, for sneaking midnight fridge raids).
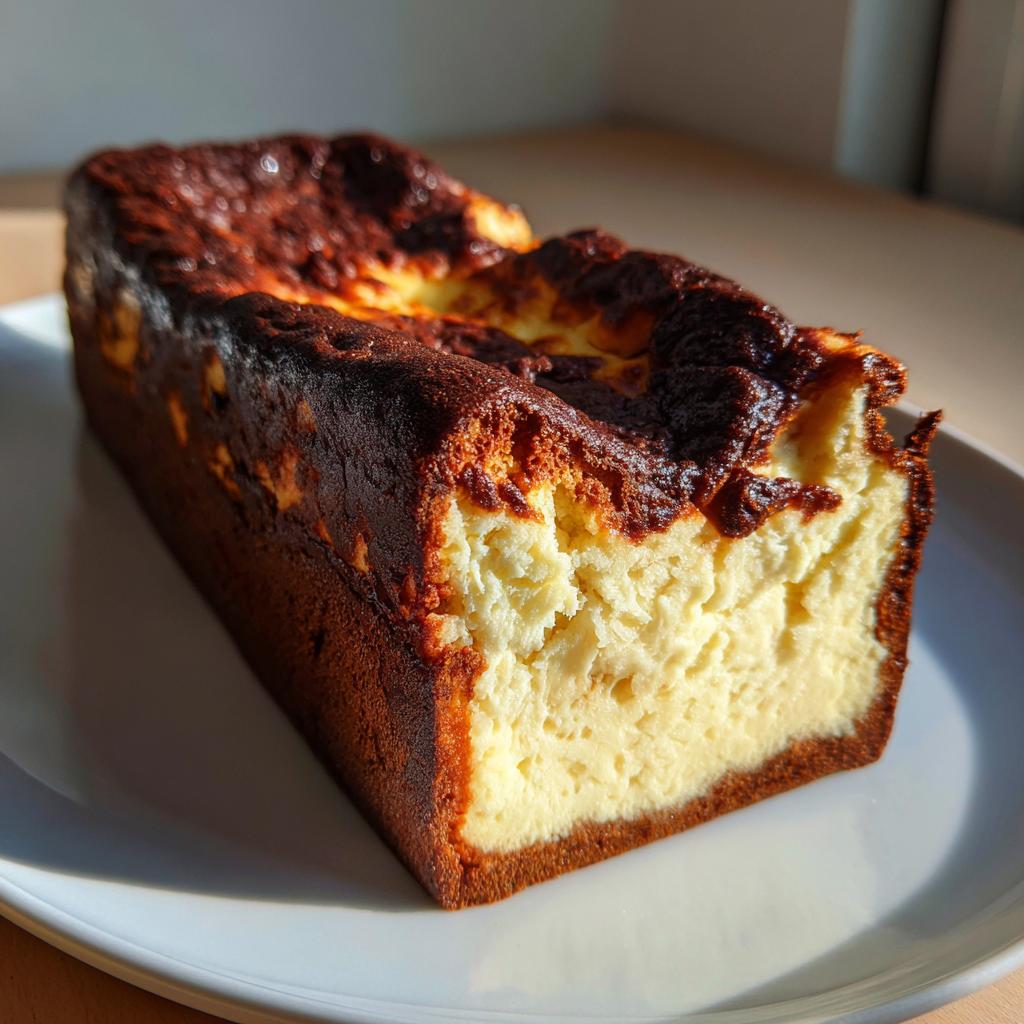
- That caramelized top! The deep golden-brown crust gives way to an impossibly creamy center that’ll make you close your eyes and sigh.
- Mix-and-pour simplicity. No fancy techniques – just blend, bake, and bask in the compliments.
Honestly, it’s the lazy baker’s ticket to looking like a pastry pro. You can find more easy dessert ideas in our dessert category.
Ingredients for Burnt Basque Cheesecake That Fits Your Loaf Pan
Gather these simple ingredients – I promise you probably have most in your kitchen already:
- 16 oz full-fat cream cheese, softened (that brick-style kind, not the spreadable tub)
- 1/2 cup granulated sugar (pack it lightly like you’re tucking in a baby)
- 2 large eggs, room temperature (take them out when you start preheating)
- 1/2 cup heavy cream (the good stuff, none of that half-and-half business)
- 1 tsp vanilla extract (or see my fancy swap below)
- 2 tbsp all-purpose flour (just enough to give structure)
- Pinch of salt (balances all that sweetness)
Ingredient Notes & Substitutions
Full-fat cream cheese is non-negotiable here – it gives that luscious texture we’re after. For extra oomph, try vanilla bean paste instead of extract (use half the amount). Out of heavy cream? Whipping cream works in a pinch, but avoid milk – we need that fat content. And if you’re feeling fancy, a tablespoon of lemon zest takes this to another level!
How to Make Burnt Basque Cheesecake That Fits Your Loaf Pan
Okay, let’s get to the good stuff! This recipe comes together so fast you’ll be amazed. Just follow these simple steps – I promise it’s easier than making boxed mac and cheese.
Step 1: Prep the Pan & Oven
First things first – crank that oven to 400°F (200°C). While it heats, grab your loaf pan and line it with parchment paper, letting about 2 inches hang over the sides. This overhang is your best friend – it’ll help lift the cheesecake out later with zero drama. No need to grease the pan, the parchment does all the work!
Step 2: Mix the Batter
In a big bowl, beat the cream cheese and sugar until smooth – no lumps allowed! Scrape down the sides as needed. Now add eggs one at a time, mixing well after each. Slow and steady wins here – we want creamy, not curdled. Pour in the heavy cream and vanilla, then gently sift in the flour and salt. Mix just until combined – overmixing makes tough cheesecakes, and nobody wants that!
Step 3: Bake to Perfection
Pour that gorgeous batter into your prepared pan and slide it in the oven. Set your timer for 35 minutes, but start checking at 30. You’re looking for a deep, dark brown top – don’t panic, that’s the “burnt” part we love! The center should still jiggle like Jell-O when you gently shake the pan. That jiggle means creamy perfection inside. Trust the process – it’ll firm up as it cools!
Tips for the Best Burnt Basque Cheesecake That Fits Your Loaf Pan
Here’s my hard-earned wisdom for cheesecake success:
- Room temp is key! Cold ingredients don’t blend smoothly – take everything out about 30 minutes before baking.
- Resist the poke test. Unlike regular cheesecakes, this one needs that jiggly center – it’ll set as it cools overnight.
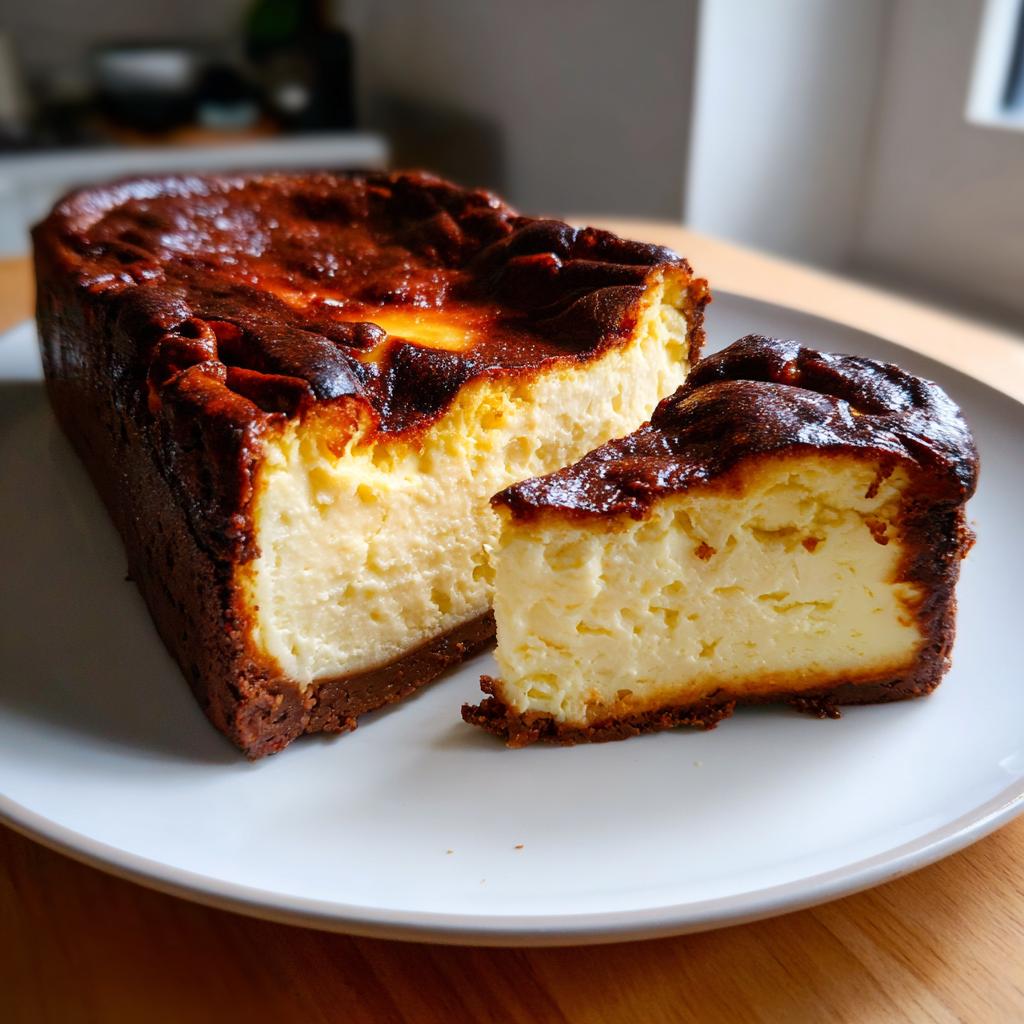
- Chill before slicing. I know it’s tempting, but waiting until it’s completely cooled gives you those clean, beautiful slices.
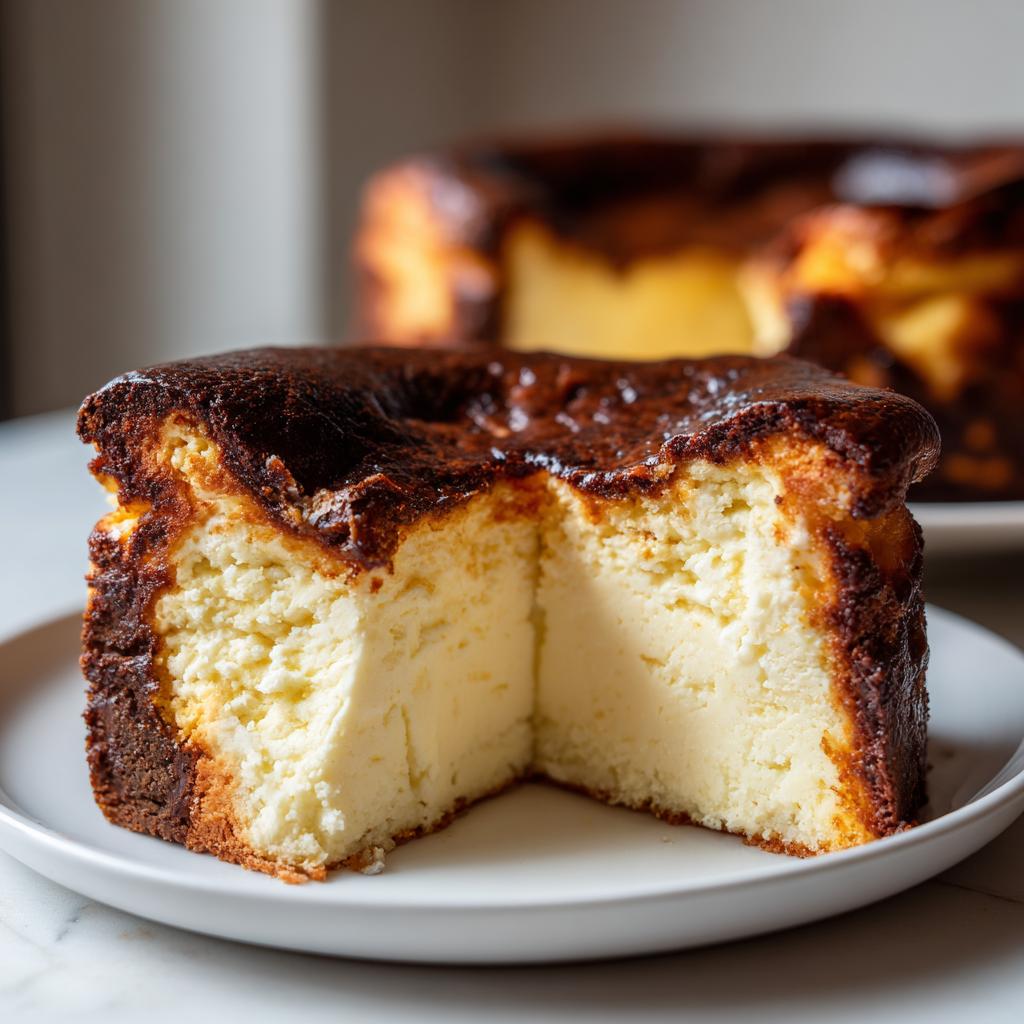
- Embrace the dark side. That deep brown top isn’t burnt – it’s caramelized perfection! Don’t pull it out too early.
- Parchment is your BFF. Those overhanging edges make removal foolproof – no more cheesecake casualties!
Follow these, and you’ll get that dreamy creamy texture every single time. For more visual inspiration, check out our Pinterest page!
Serving & Storing Burnt Basque Cheesecake That Fits Your Loaf Pan
Okay, here’s the hardest part – waiting! This beauty needs to cool completely at room temp, then chill in the fridge for at least 2 hours (overnight is even better). When you’re ready, use the parchment overhang to lift it out, then slice with a hot knife for clean cuts. I love serving chilled slices with fresh berries and a dusting of powdered sugar – the tart fruit cuts through that rich creaminess perfectly. Leftovers? Just cover tightly and refrigerate for up to 3 days (if it lasts that long – mine never does!).
Nutritional Information
Just a heads up – these numbers are estimates since ingredients vary by brand. Each creamy slice packs about 320 calories, with that perfect balance of rich cream cheese goodness and just enough sweetness. Remember, this is dessert – savor every bite without guilt! Exact values change based on your specific ingredients.
FAQ About Burnt Basque Cheesecake That Fits Your Loaf Pan
Can I freeze leftovers? Absolutely! Wrap slices tightly in plastic wrap and freeze for up to 1 month. Thaw overnight in the fridge – the texture stays miraculously creamy.
Why no water bath? That’s the magic of Basque cheesecake! The high heat creates those gorgeous caramelized edges while keeping the center luxuriously creamy. Water baths would prevent that signature rustic texture we love. If you are interested in traditional baking methods, check out our guide on bread making.
My top looks really dark – is it burnt? Don’t panic! That deep mahogany color is exactly what we want. As long as the center still jiggles slightly when you shake the pan, you’re golden (literally).
Can I make this gluten-free? Sure thing! Just swap the all-purpose flour with an equal amount of cornstarch or your favorite GF flour blend. The texture comes out nearly identical.
Help – my cheesecake sank in the middle! That’s totally normal! This cheesecake is meant to have a slightly sunken, custardy center as it cools. It’s part of its charming, rustic personality.
I’d love to see your gorgeous cheesecakes! Tag me on Instagram or leave a comment below – nothing makes me happier than seeing your baking adventures!
Print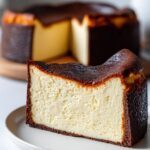
“1 Irresistible Burnt Basque Cheesecake for Small Pans”
- Total Time: 50 mins
- Yield: 6 servings 1x
- Diet: Vegetarian
Description
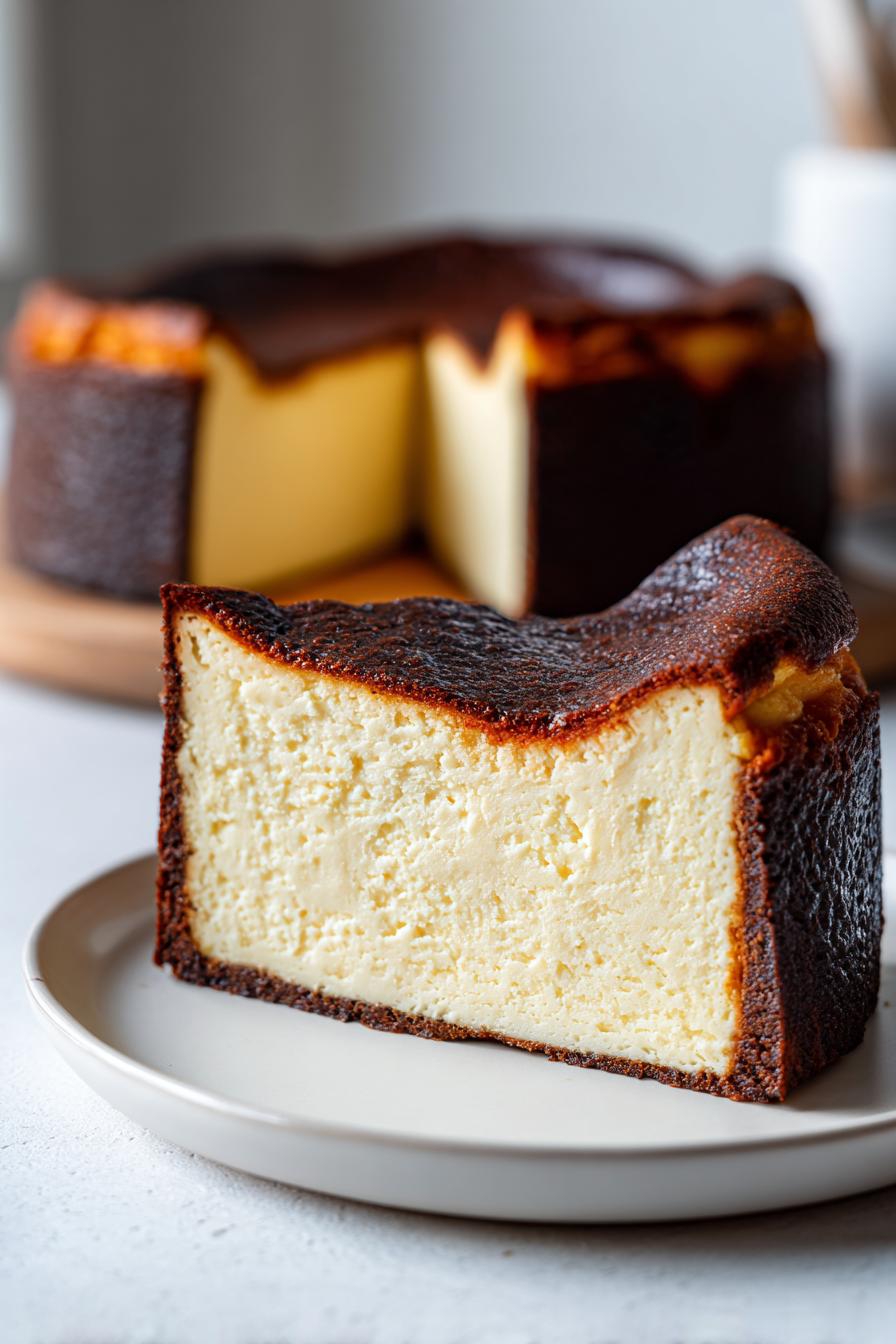
A simple Burnt Basque Cheesecake recipe designed for a loaf pan. This dessert has a creamy center and caramelized top, perfect for small servings.
Ingredients
- 16 oz cream cheese, softened
- 1/2 cup granulated sugar
- 2 large eggs
- 1/2 cup heavy cream
- 1 tsp vanilla extract
- 2 tbsp all-purpose flour
- Pinch of salt
Instructions
- Preheat oven to 400°F (200°C). Line a loaf pan with parchment paper.
- Beat cream cheese and sugar until smooth.
- Add eggs one at a time, mixing well after each.
- Stir in heavy cream and vanilla.
- Sift in flour and salt, then mix until just combined.
- Pour batter into the pan. Bake for 35-40 minutes until dark brown on top.
- Let cool completely before slicing. Serve chilled.
Notes
- Use full-fat cream cheese for best texture.
- The center will be jiggly but firms up as it cools.
- Store leftovers in the fridge for up to 3 days.
- Prep Time: 10 mins
- Cook Time: 40 mins
- Category: Dessert
- Method: Baking
- Cuisine: Spanish
Nutrition
- Serving Size: 1 slice
- Calories: 320
- Sugar: 20g
- Sodium: 220mg
- Fat: 24g
- Saturated Fat: 14g
- Unsaturated Fat: 8g
- Trans Fat: 0g
- Carbohydrates: 22g
- Fiber: 0g
- Protein: 6g
- Cholesterol: 120mg