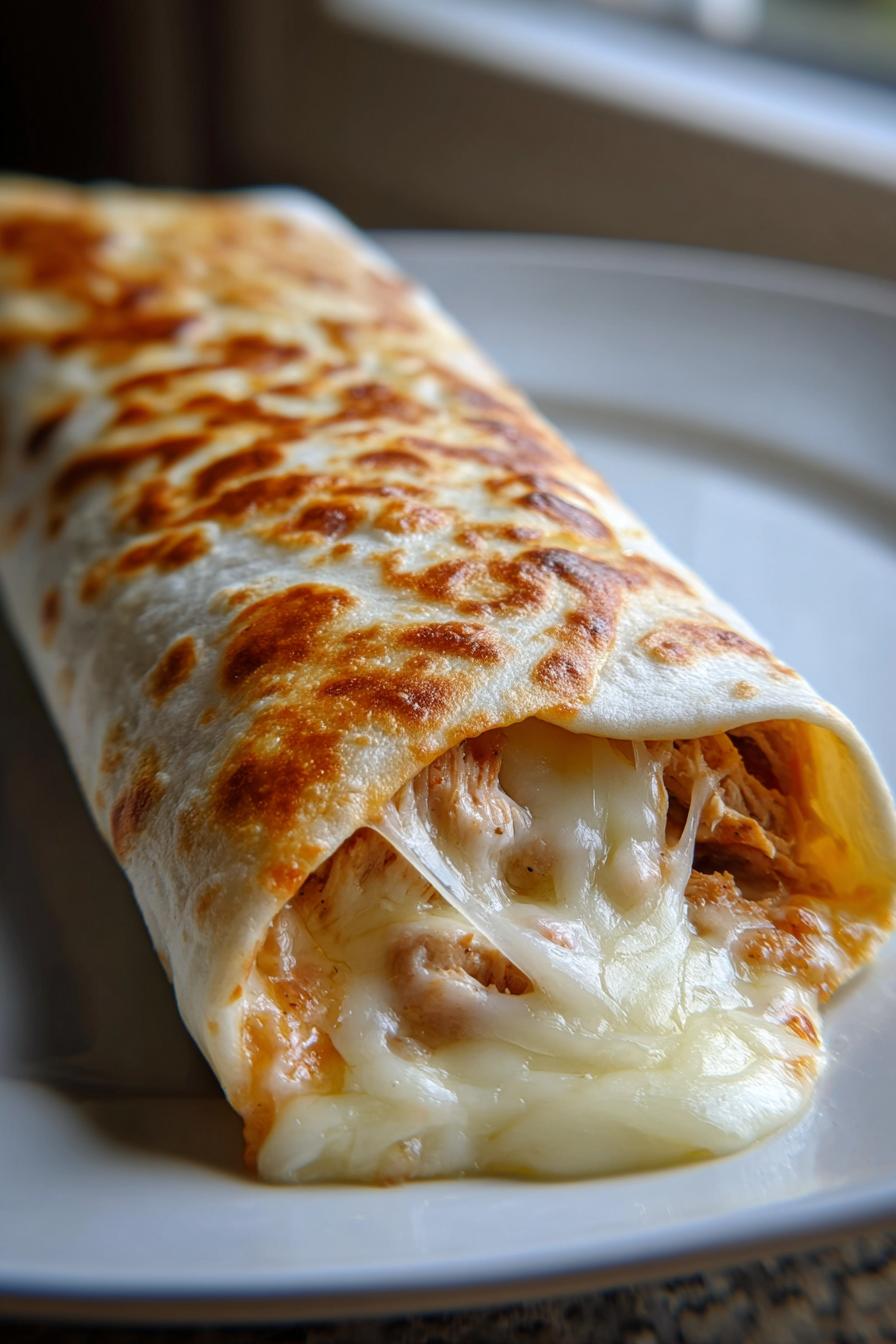
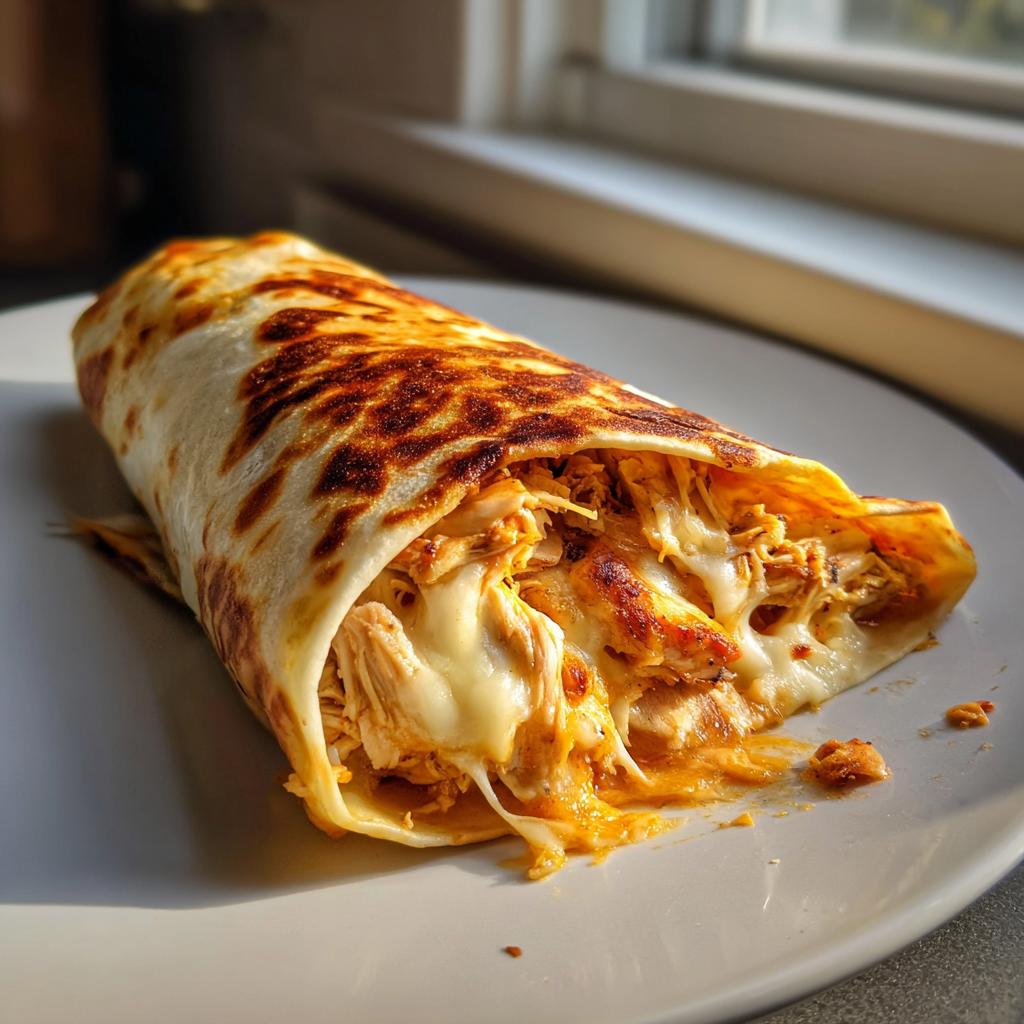
25-Minute Ooey-Gooey Cheesy Garlic Chicken Wraps You’ll Crave
Oh my goodness, you have to try these ooey-gooey cheesy garlic chicken wraps! They’re my absolute go-to when I need something ridiculously delicious in under 30 minutes (and trust me, my kids beg for them weekly). The garlic butter chicken mixed with all that melted mozzarella just hits different – it’s like a cozy hug in wrap form. Best part? You probably have most ingredients in your kitchen right now. I’ve been making this exact version for years, tweaking it until every bite is pure cheesy perfection. Warning: you might want to double the recipe because these disappear fast!
Why You’ll Love These Ooey-Gooey Cheesy Garlic Chicken Wraps
Seriously, what’s not to love? These wraps are the ultimate crowd-pleaser, and here’s why:
- Ready in 25 minutes flat – perfect for those “what’s for dinner?!” panic moments
- That garlic butter chicken – I swear it’ll make you close your eyes and sigh happily
- Kids devour them (mine fight over the last one every time)
- Crazy customizable – swap in your favorite cheese or add some heat with chili flakes
- Minimal cleanup – one pan, a cutting board, and you’re golden
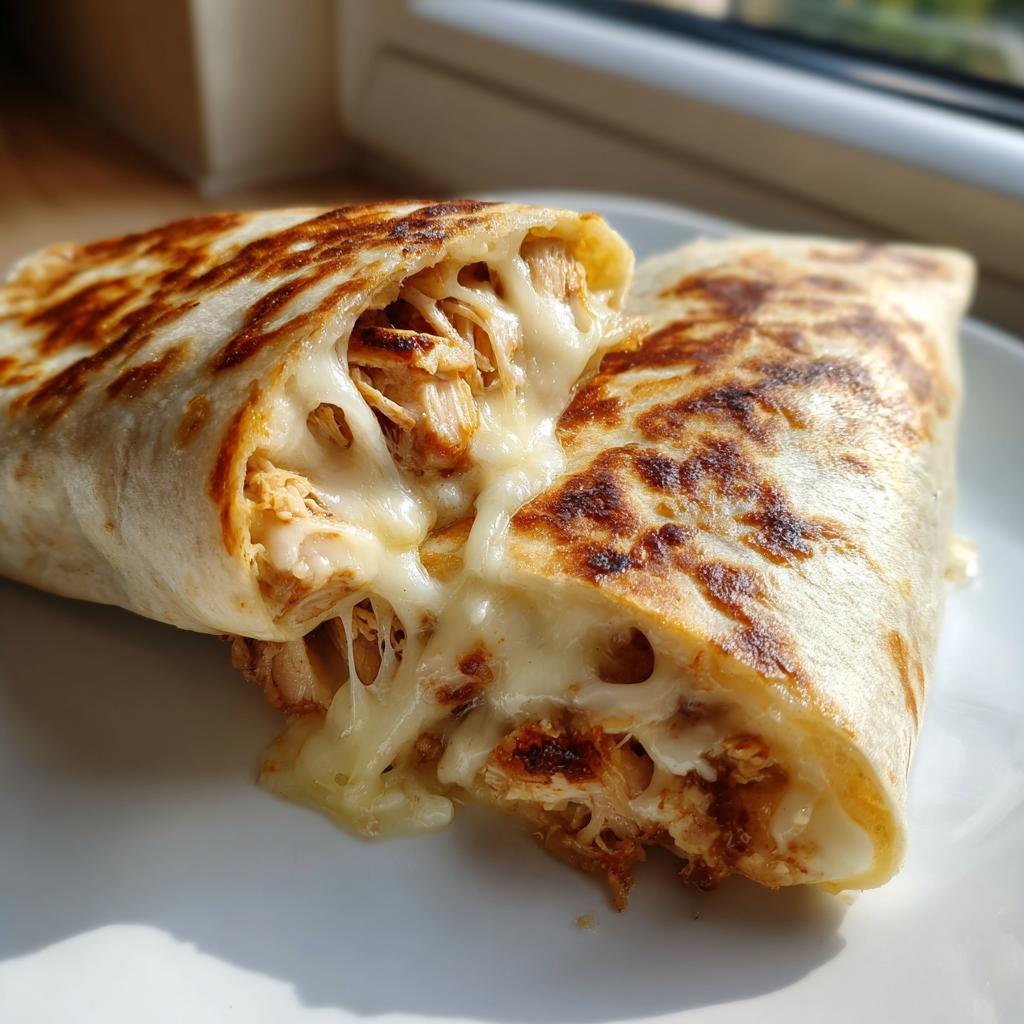
The first bite will have you hooked – that perfect combo of crispy tortilla, melty cheese, and garlicky chicken is just magic.
Ingredients for Ooey-Gooey Cheesy Garlic Chicken Wraps
Here’s everything you’ll need to make these ridiculously tasty wraps. I’ve learned that quality matters here – especially with those three star ingredients: the garlic, chicken, and cheese. Trust me, it makes all the difference!
- 2 boneless chicken breasts (about 1 lb total) – I like to slice them into even strips so they cook evenly
- 1 cup shredded mozzarella cheese – freshly shredded melts so much better than the pre-bagged stuff
- 2 cloves garlic, minced – yes, fresh only! I’ll explain why below
- 1 tbsp butter – the real deal, none of that margarine business
- 4 large flour tortillas – the burrito-sized ones work best
- 1 tsp olive oil – for that perfect golden sear on the chicken
- 1/2 tsp salt – I use kosher salt for even seasoning
- 1/4 tsp black pepper – freshly cracked if you’ve got it
- 1/4 tsp paprika – adds that subtle warmth without being spicy
Ingredient Notes & Substitutions
Okay, let’s talk swaps and why I’m picky about certain things:
Garlic: I know it’s tempting to use jarred minced garlic, but fresh just tastes brighter here. Pro tip – smash the cloves with your knife first, then mince. The flavor releases better!
Tortillas: If you need gluten-free, corn tortillas work (just warm them first so they don’t crack). For extra flavor, try the spinach or tomato basil ones!
Cheese: Mozzarella gives that perfect stretch, but a mix with cheddar is amazing too. Dairy-free? Violife’s mozz-style shreds melt surprisingly well.
Chicken: Leftover rotisserie chicken works in a pinch – just skip the cooking step and mix it warm with the garlic butter.
Spice it up: Add a pinch of red pepper flakes to the chicken or some chopped jalapeños with the cheese if you like heat!
How to Make Ooey-Gooey Cheesy Garlic Chicken Wraps
Alright, let’s get cooking! These wraps come together so fast you’ll barely have time to set the table. I’ve broken it down into three simple steps that guarantee perfect results every time. Follow these exactly, and you’ll have the most delicious, melty, garlicky chicken wraps ready before you know it!
Step 1: Season and Cook the Chicken
First things first – grab your favorite skillet (I use my trusty cast iron) and heat it over medium-high heat. While that’s warming up, pat your chicken breasts dry with paper towels – this helps them get that beautiful golden crust. Slice them into even strips about 1/2-inch thick so they cook evenly.
Now, the seasoning! In a small bowl, mix together the salt, pepper, and paprika. Sprinkle this evenly over all the chicken pieces – don’t be shy here, this is where the flavor starts! Add the olive oil to your hot pan, then carefully lay in the chicken. You should hear that satisfying sizzle!
Cook for about 3-4 minutes per side until there’s no pink left inside and the outside gets those gorgeous golden-brown spots. Pro tip: resist the urge to move them around too much – letting them sit develops that perfect crust. When done, transfer to a cutting board and let rest for 2 minutes before shredding.
Step 2: Mix with Garlic and Butter
This is where the magic happens! While the chicken is still warm (important!), shred it using two forks or your fingers if you’re careful. Toss it into a mixing bowl and immediately add the minced garlic and butter. The residual heat will melt the butter and mellow the garlic’s sharpness into something heavenly.
Stir everything together until the chicken is evenly coated in that garlic butter goodness. Take a quick taste here – this is when I usually add an extra pinch of salt if needed. The mixture should be fragrant and slightly glossy from the butter. If it looks dry, don’t panic! Just add another teaspoon of butter and mix again.
Step 3: Assemble and Grill the Wraps
Time for the fun part! Lay out your tortillas and divide the chicken mixture evenly among them, spreading it down the center but leaving about an inch at the ends. Sprinkle generously with mozzarella – I like to use about 1/4 cup per wrap, but hey, no judgment if you want more!
Now, rolling: fold in the sides first, then roll tightly from the bottom up, tucking as you go. Think burrito-style! If your tortillas are stiff, microwave them for 10 seconds first to make them more pliable.
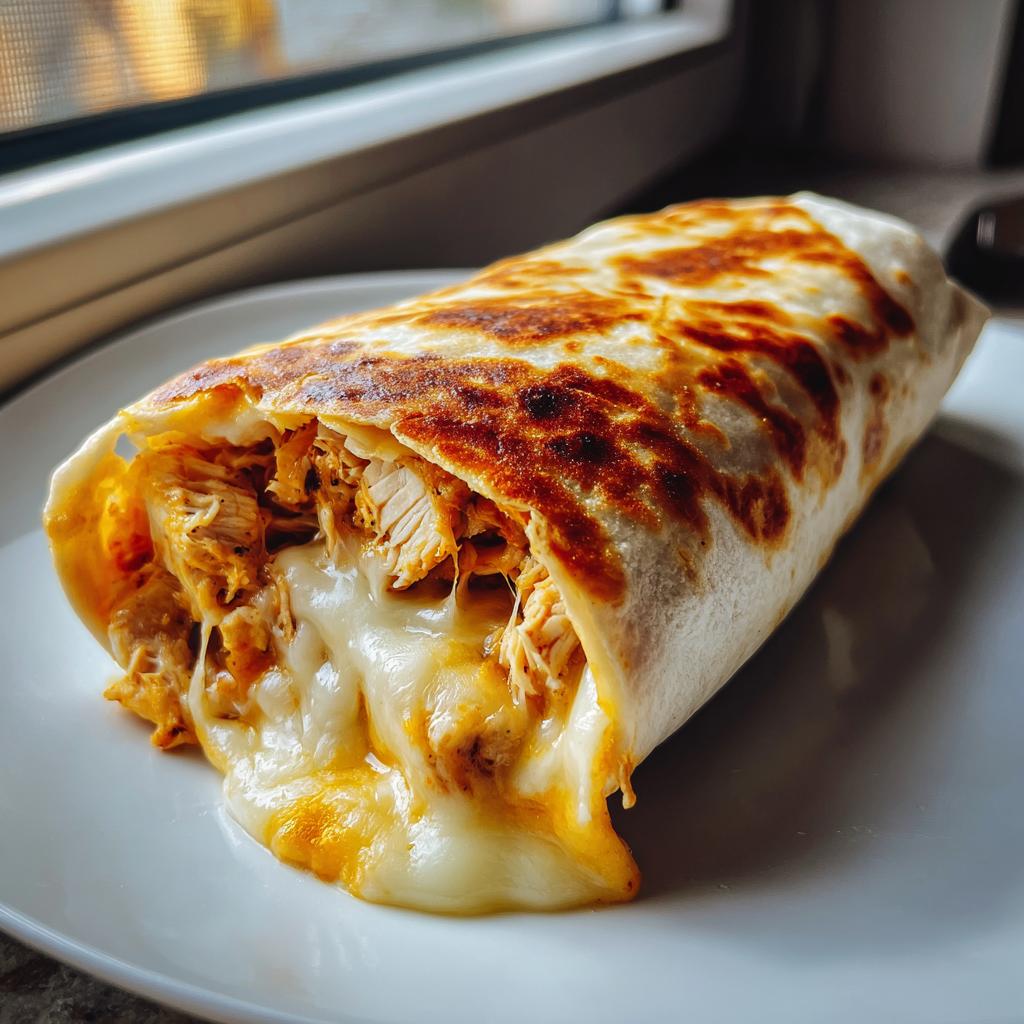
Heat a clean skillet over medium heat (or use the same one from the chicken – just wipe it out first). Place your wraps seam-side down and cook for 2-3 minutes per side until golden and crispy, pressing gently with a spatula. You’ll know they’re ready when the cheese starts oozing out the sides – that’s the good stuff!
No skillet? No problem! These work great on a panini press or even baked at 400°F for 5 minutes per side. Just keep an eye on them – we want golden, not burnt!
Tips for Perfect Ooey-Gooey Cheesy Garlic Chicken Wraps
After making these wraps more times than I can count (seriously, my family requests them weekly), I’ve picked up some foolproof tricks to take them from good to “oh-my-gosh-can-I-have-another” amazing:
- Warm those tortillas first! 10 seconds in the microwave or 30 seconds in a dry pan makes them way more pliable. Cold tortillas crack and make rolling a nightmare.
- Mix your cheeses – I often do half mozzarella, half sharp cheddar. The mozz gives that iconic stretch, while the cheddar adds a flavor punch.
- Don’t overstuff – I know it’s tempting, but about 1/3 cup chicken mixture per wrap is the sweet spot. Too much and you’ll have a cheesy explosion when grilling!
- Press gently while grilling – A light touch with your spatula helps the tortilla crisp evenly without squeezing out all that precious melted cheese.
- Let them rest 2 minutes before cutting – I know it’s hard to wait, but this lets the cheese set slightly so it doesn’t all ooze out when you slice them.
My secret weapon? A tiny sprinkle of garlic powder on the outside of the wraps before grilling. It gives that extra garlicky crunch that makes people ask, “What did you DO to these?!”
Serving Suggestions
Now, these wraps are absolutely delicious on their own (who can resist that cheesy pull?), but if you want to turn them into a full meal, here are my favorite ways to serve them:
- Cool & creamy sides: A big dollop of sour cream or Greek yogurt with some fresh chopped chives is my go-to. The coolness balances the garlic perfectly.
- Something crunchy: A simple cabbage slaw with lime juice cuts through the richness. I literally throw shredded cabbage with lime and salt together – no fuss!
- Dippable delights: Warm marinara or salsa for dipping turns this into a fun, hands-on meal. My kids go crazy for the “cheesy wrap dunk” game!
- Green goodness: A quick arugula salad with lemon dressing makes me feel slightly virtuous about all that cheese.
Honestly? Sometimes we just eat them straight off the cutting board while standing around the kitchen – no shame in that game! The only real rule is to serve them hot so that cheese stays gloriously stretchy.
Storage & Reheating
Okay, confession time – these wraps are so good they rarely last long in our house! But if you do have leftovers (or were smart enough to make extra), here’s how to keep them tasting just as amazing:
Storing: Let the wraps cool completely, then wrap each one tightly in foil or place in an airtight container. They’ll keep in the fridge for up to 3 days. Want to freeze them? Individually wrap in plastic wrap first, then foil – they’ll last about a month in the freezer.
Reheating (the right way!): Don’t you dare microwave these beauties – we worked too hard for that perfect crispy exterior! Here’s how to bring them back to life:
- Skillet method: My favorite! Heat a dry skillet over medium-low. Unwrap and cook for 2-3 minutes per side until warmed through and crispy again. Cover with a lid for the last minute to help the cheese get melty.
- Oven method: Perfect for multiple wraps. Unwrap, place on a baking sheet, and pop in a 350°F oven for 8-10 minutes. Flip halfway through.
- Air fryer magic: 320°F for 3-4 minutes makes them almost as good as fresh!
Pro tip: If the cheese isn’t as gooey as you’d like after reheating, just sprinkle a tiny bit of fresh cheese on top during the last minute. It’ll melt right into all the nooks and crannies!
Nutritional Information
Okay, let’s talk numbers – but remember, these are just estimates based on exactly how I make these wraps (and let’s be real, I might’ve been a little generous with that cheese measurement!). Actual values can vary depending on your specific ingredients, so take this as a general guide rather than gospel truth.
Here’s what you’re looking at per wrap (based on making 4 wraps total):
- Calories: 320 – but totally worth every single one!
- Protein: 22g (that chicken really packs a punch)
- Carbs: 25g (mostly from those delicious tortillas)
- Sugar: 2g (just the natural stuff from ingredients)
- Fat: 14g (hello, beautiful butter and cheese!)
- Saturated Fat: 6g (moderation is key, folks)
- Sodium: 450mg (easy to reduce by cutting salt if needed)
- Fiber: 1g (add a side salad to boost this)
- Cholesterol: 65mg
Important note: These values can swing quite a bit depending on your ingredient choices. Using low-carb tortillas? That’ll change the carbs. Going heavy on the cheese? Well… we don’t judge here, but it’ll adjust those fat numbers. The main thing is that these wraps give you a good balance of protein and carbs – making them both satisfying and delicious!
If you’re tracking macros or have specific dietary needs, I’d recommend plugging your exact ingredients into a nutrition calculator. But for most of us just looking for a delicious meal? These numbers tell us what we already know – these wraps are a perfectly reasonable (and crazy tasty) dinner option!
FAQ
Q1. Can I use pre-cooked chicken for these wraps?
Absolutely! This is my go-to shortcut when I’m really pressed for time. Just shred about 2 cups of rotisserie chicken (or leftover grilled chicken) and mix it with the warm garlic butter. The flavors will soak right in! No need to cook it again – just assemble and grill the wraps as usual.
Q2. How can I make these wraps spicier?
Oh, I love this question! Here are my favorite ways to turn up the heat:
- Add 1/4 tsp cayenne pepper to the chicken seasoning
- Mix in some chopped jalapeños with the cheese
- Use pepper jack cheese instead of mozzarella
- Top with a drizzle of hot sauce or sriracha mayo
Just taste as you go – you can always add more heat but you can’t take it away!
Q3. Can I make these wraps ahead of time?
You can prep components ahead, but I don’t recommend assembling them too early. Here’s what works best:
- Cook and shred the chicken up to 2 days ahead – store it mixed with the garlic butter in the fridge
- Shred the cheese up to 3 days in advance
- Assemble and grill right before serving for maximum crispiness
Pre-made wraps get soggy, but you can re-crisp them using the reheating methods I mentioned earlier!
Q4. What’s the best way to keep the wraps from falling apart?
I’ve had plenty of wrap disasters, so I feel this! My foolproof method:
- Warm tortillas first (10 sec in microwave)
- Don’t overfill – leave 1-inch borders
- Fold sides in first, then roll tightly from the bottom up
- Grill seam-side down first to “seal” it
If all else fails, secure with toothpicks before grilling and remove them after!
Q5. Can I bake these instead of grilling?
Totally! Preheat your oven to 400°F, place wraps on a baking sheet, and bake for 8-10 minutes, flipping halfway. They won’t get quite as crispy as skillet-grilled, but they’ll still be delicious. For extra crunch, brush the outside with a little melted butter first!
If you enjoy finding delicious recipes like this, you can see more of our content on Pinterest.
For more quick and easy dinner ideas, check out our general recipe blog.
Print
25-Minute Ooey-Gooey Cheesy Garlic Chicken Wraps You’ll Crave
- Total Time: 25 mins
- Yield: 4 wraps 1x
- Diet: Low Lactose
Description
Cheesy garlic chicken wraps packed with flavor and easy to make.
Ingredients
- 2 boneless chicken breasts
- 1 cup shredded mozzarella cheese
- 2 cloves garlic, minced
- 1 tbsp butter
- 4 large flour tortillas
- 1 tsp olive oil
- 1/2 tsp salt
- 1/4 tsp black pepper
- 1/4 tsp paprika
Instructions
- Season chicken with salt, pepper, and paprika.
- Heat olive oil in a pan and cook chicken until done.
- Shred cooked chicken and mix with minced garlic and butter.
- Place chicken mixture on tortillas and top with mozzarella cheese.
- Roll tortillas tightly and grill until cheese melts.
- Serve warm.
Notes
- Use fresh garlic for best flavor.
- Adjust cheese quantity to taste.
- Serve with a side of sour cream or salsa.
- Prep Time: 10 mins
- Cook Time: 15 mins
- Category: Main Dish
- Method: Grilling
- Cuisine: American
Nutrition
- Serving Size: 1 wrap
- Calories: 320
- Sugar: 2g
- Sodium: 450mg
- Fat: 14g
- Saturated Fat: 6g
- Unsaturated Fat: 5g
- Trans Fat: 0g
- Carbohydrates: 25g
- Fiber: 1g
- Protein: 22g
- Cholesterol: 65mg