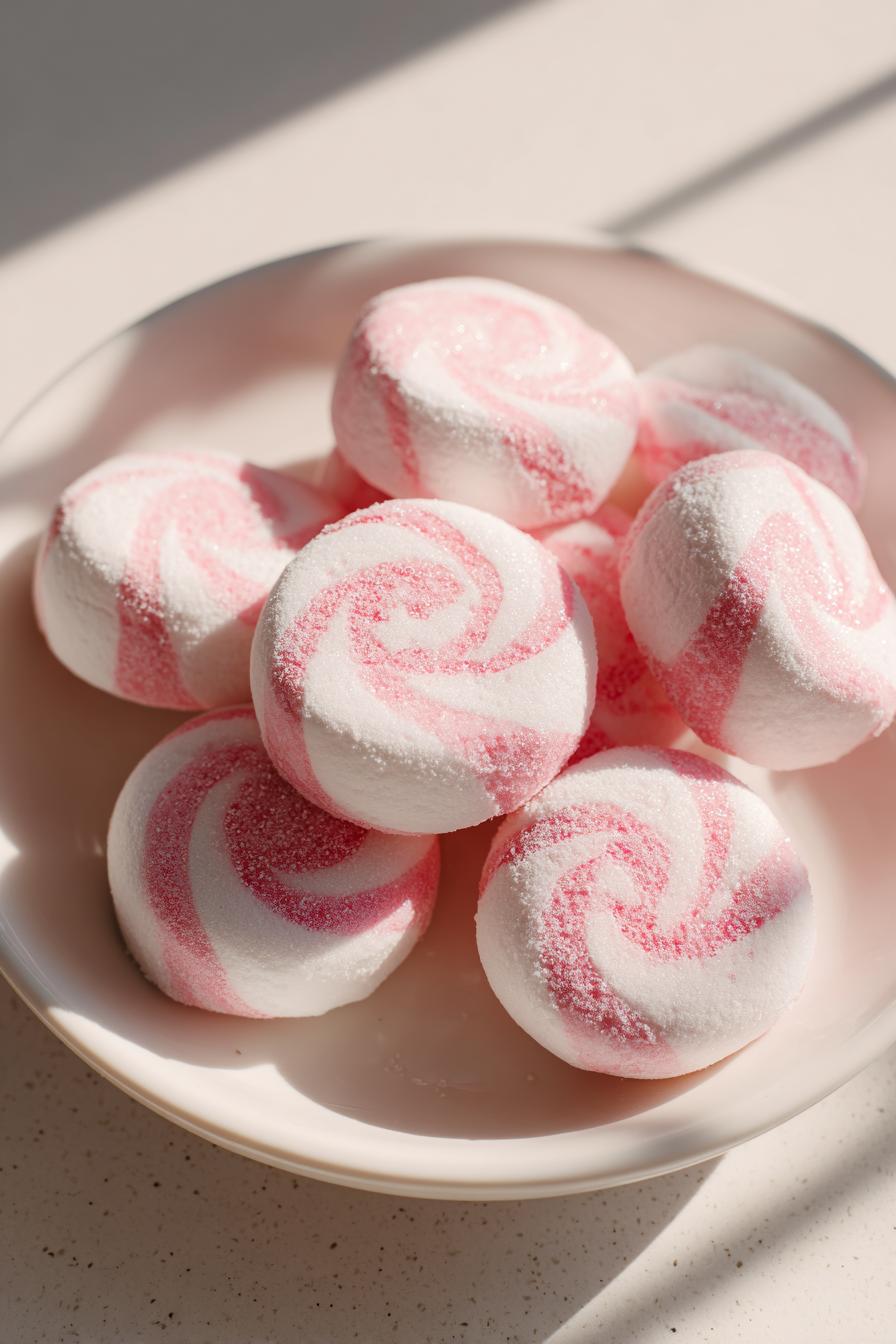
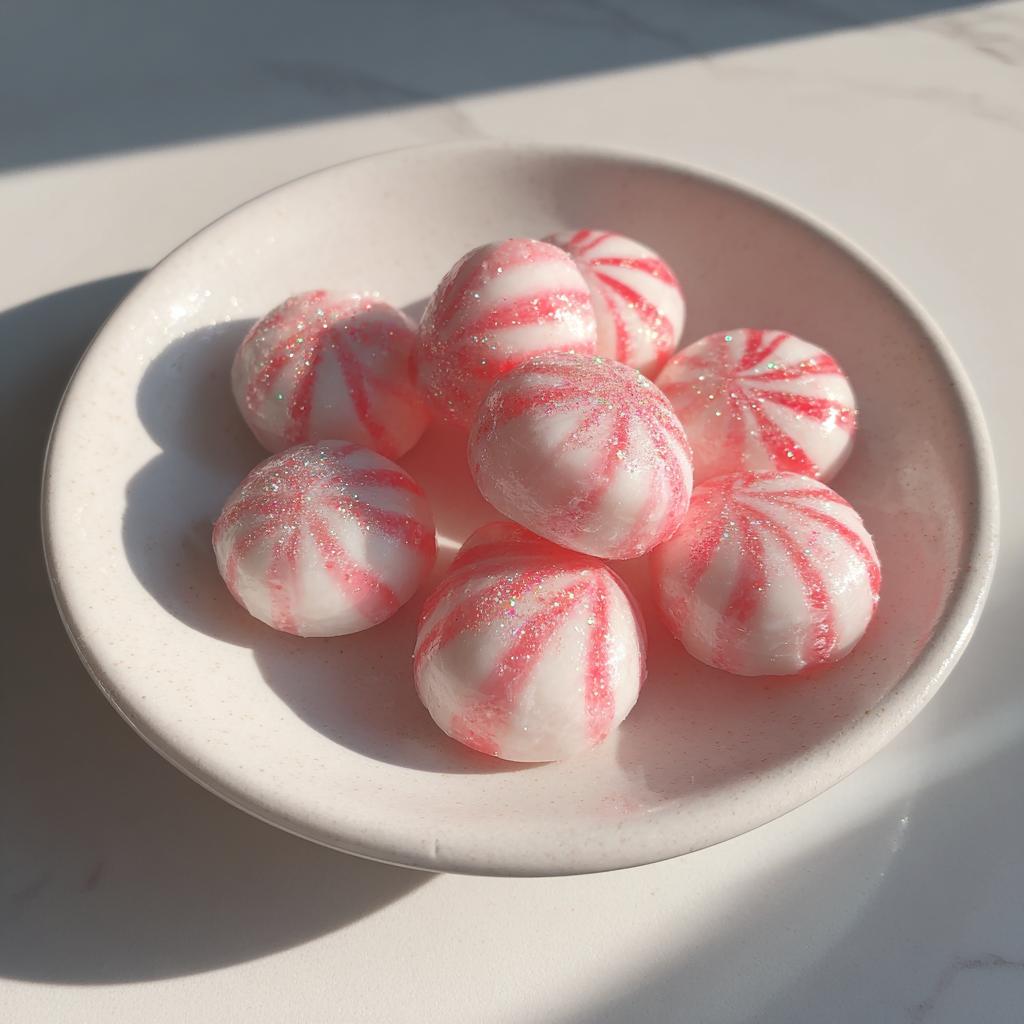
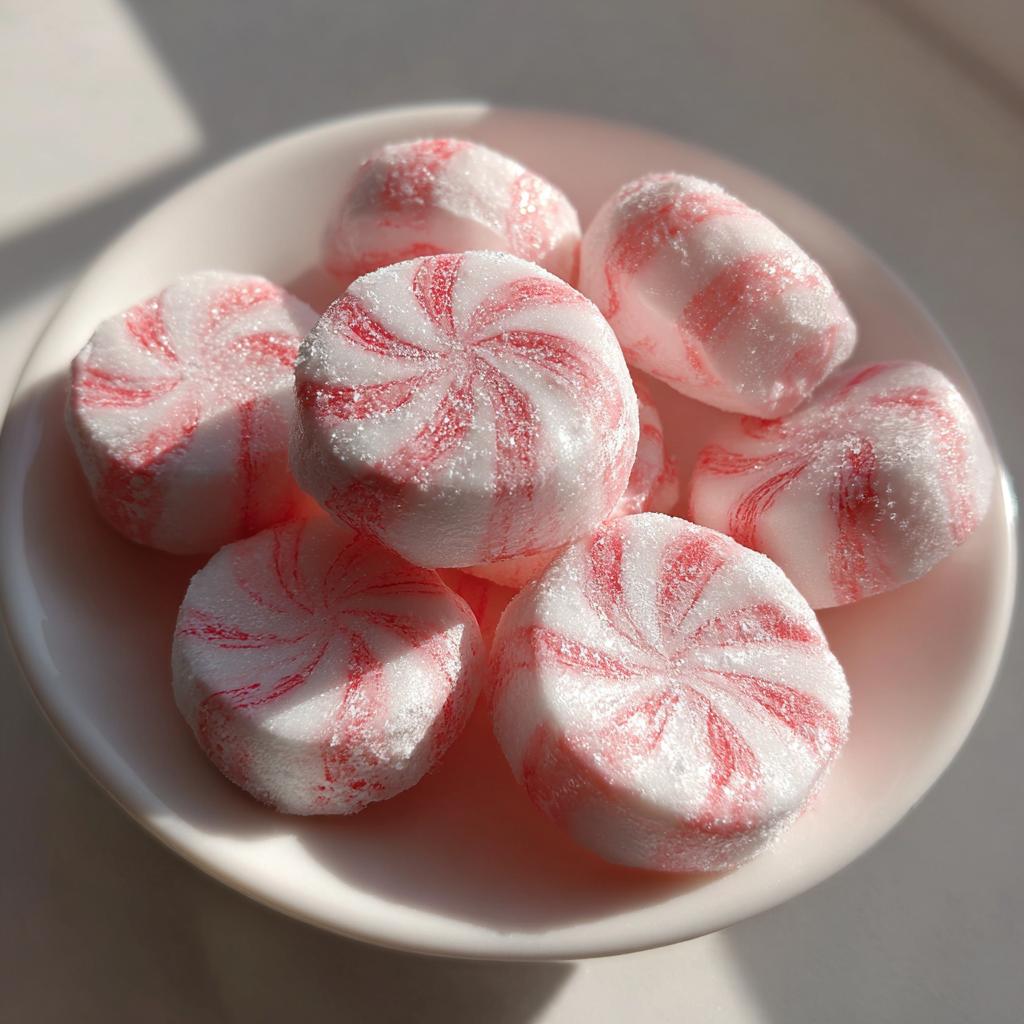
3 Secrets to The Magic of Soft Christmas Peppermints You Must Try
There’s something magical about the scent of peppermint filling the kitchen during the holidays, isn’t there? I still remember standing on a stool as a kid, watching my grandma stir a bubbling pot of sugar syrup, her hands moving with the confidence of decades of candy-making. The moment she’d add that peppermint extract – wow! – the whole house would smell like Christmas morning.
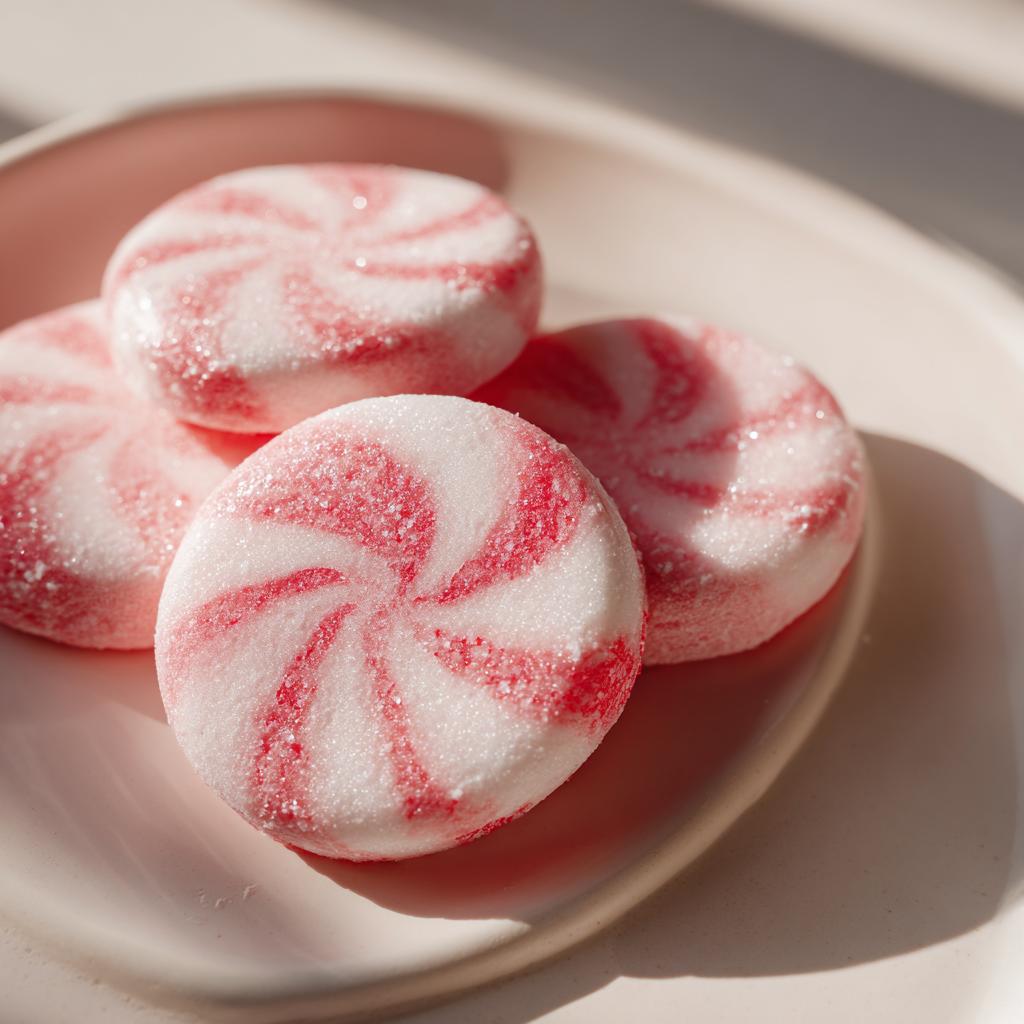
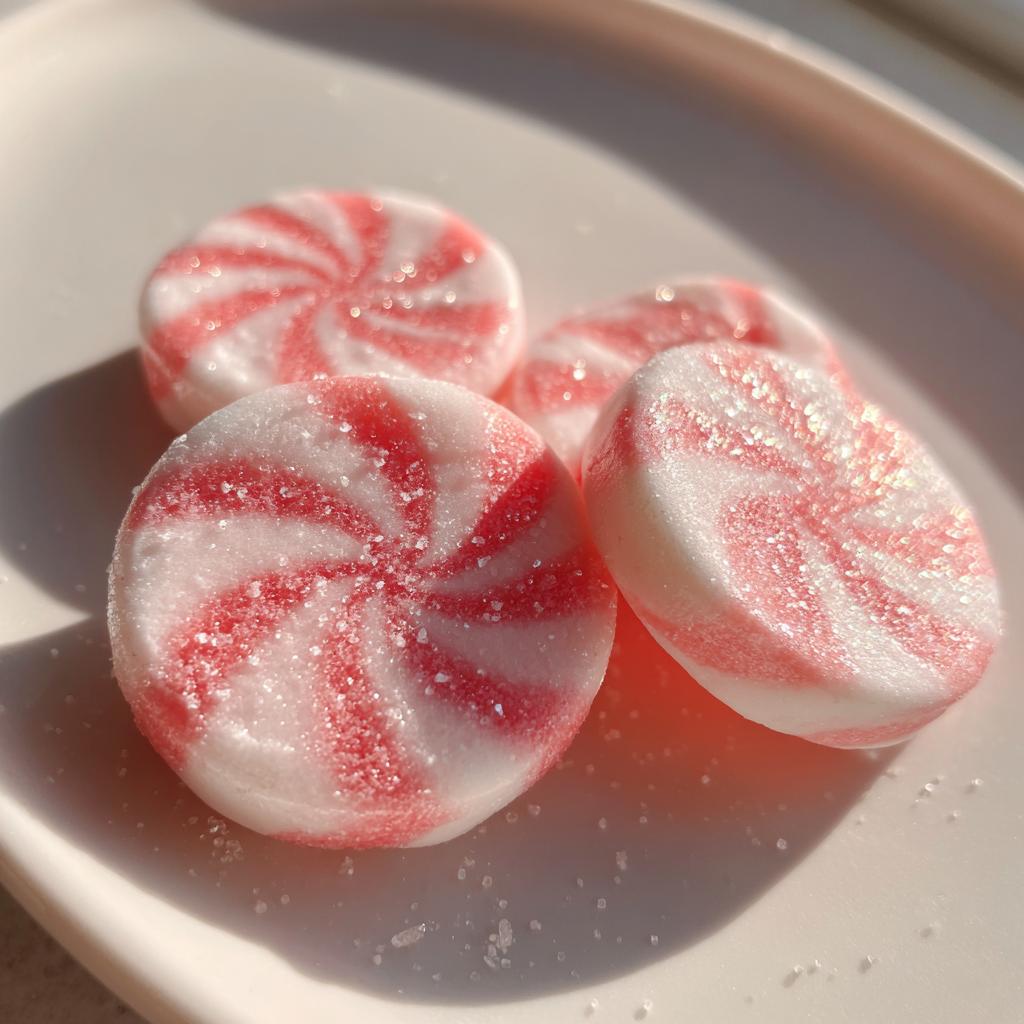
These soft Christmas Peppermints were our family’s secret holiday weapon. We’d tuck them into stockings, pile them on cookie trays, and sneak them into movie nights when the first snow fell. What I love most is how simple they are to make – just a handful of pantry staples transform into these melt-in-your-mouth treats that everyone goes crazy for.
Now it’s my turn to carry on the tradition, and I can’t wait to share our family’s foolproof method with you. Whether you’re making them for gifts or just to satisfy that seasonal sweet tooth, these peppermints will become your new favorite holiday tradition too. Trust me – once you try them warm and fresh, you’ll never go back to store-bought candy canes again!
Why You’ll Love The Magic of Soft Christmas Peppermints
These peppermints aren’t just candy – they’re little bites of holiday joy! Here’s why they’ve been my family’s favorite for generations:
- They come together in minutes – Seriously, from saucepan to cooling rack in under an hour. Perfect when you need last-minute treats!
- That nostalgic peppermint zing – The pure, bright flavor takes me right back to childhood Christmases every single time.
- Endlessly customizable – Swirl in food coloring, dip in chocolate, or roll in crushed candy canes for extra festive flair.
- Soft, melt-in-your-mouth texture – Unlike hard store-bought candies, these stay wonderfully tender.
- Makes your house smell amazing – That peppermint aroma is basically holiday potpourri!
The best part? Watching people’s faces light up when they taste them – instant holiday magic!
Ingredients for The Magic of Soft Christmas Peppermints
Gather these simple ingredients – you probably have most in your pantry already! The magic happens when they come together:
- 2 cups granulated sugar – Regular white sugar works perfectly here
- 1/2 cup light corn syrup – This keeps our peppermints beautifully soft
- 1/2 cup water – Just plain tap water is fine
- 1/4 teaspoon cream of tartar – Our secret for perfect texture
- 1 teaspoon peppermint extract – Use the good stuff for that classic holiday flavor
- Red food coloring (optional) – A few drops make them extra festive!
See? Nothing fancy – just simple ingredients that transform into something truly special. Now let’s make some magic!
Equipment You’ll Need
Don’t worry – you don’t need fancy gadgets for these peppermints! Just grab:
- A heavy-bottomed saucepan – Prevents scorching that sugar
- Candy thermometer – Crucial for nailing that perfect soft-ball stage
- Greased baking sheet – Or use parchment paper if you’re in a pinch
- Wooden spoon – My grandma swore by wood for candy-making
That’s it! Now let’s get cooking!
How to Make The Magic of Soft Christmas Peppermints
Okay, let’s dive into the fun part! Making these peppermints is like conducting a sweet little science experiment – with delicious results. Just follow these steps, and you’ll have perfect holiday candies in no time. Don’t let the candy thermometer scare you; I’ll walk you through every step!
Cooking the Sugar Mixture
First, grab that heavy-bottomed saucepan and combine the sugar, corn syrup, water, and cream of tartar. Here’s my trick: stir just until everything looks like a smooth, milky liquid – then stop stirring! Once those sugar crystals dissolve (about 3-4 minutes over medium heat), resist the urge to stir again.
Now comes the waiting game. Let the mixture bubble away until your candy thermometer hits exactly 260°F (that’s the hard-ball stage for you candy nerds). This usually takes about 10-15 minutes. Watch carefully – sugar goes from “almost ready” to “oh no!” real fast. The bubbles will get bigger and the syrup thicker as it cooks.
Adding Flavor and Color
As soon as you hit 260°F, pull that pot off the heat! This is the magic moment. Quickly but carefully stir in the peppermint extract – stand back a bit unless you want a peppermint steam facial! If you’re using food coloring, add a few drops now and give it one gentle swirl for a pretty marbled effect.
Pro tip: work fast here because the syrup starts setting up quickly. Have your greased baking sheet ready before you even start cooking. Pour the hot mixture onto the sheet and let it cool just until you can handle it – about 5 minutes. You want it warm enough to be pliable but not so hot it burns your fingers.
Shaping the Candies
Now the fun begins! Scoop up a handful of the warm candy and start kneading it like dough. You’ll feel it transform from sticky to smooth and pliable in about a minute. If it’s too sticky, let it cool another minute or two.
Roll tablespoon-sized pieces between your palms into smooth balls, then flatten them with a fork for that classic peppermint patty look. Want to get fancy? Press them into holiday-shaped molds while they’re still warm. Just move quickly – this stuff sets fast!
Let your finished peppermints cool completely on the baking sheet before stacking or packaging them. And don’t worry if your first few aren’t perfect – mine never are! The taste is what counts, and these are guaranteed delicious.
Tips for Perfect The Magic of Soft Christmas Peppermints
After years of making these peppermints (and plenty of trial-and-error!), I’ve picked up some tricks that’ll help yours turn out perfect every time:
- Work fast but don’t panic – The candy sets quickly, but rushing leads to burned fingers. Have everything measured and ready before you start cooking.
- Grease your hands lightly – A dab of butter on your palms makes kneading the warm candy much easier.
- Store them right – Layer them between wax paper in an airtight container to keep them soft for weeks.
- Get creative with molds – Holiday cookie cutters pressed into the warm candy make adorable shapes!
Remember – even imperfect peppermints taste amazing. That’s the real magic!
Variations for The Magic of Soft Christmas Peppermints
Once you’ve mastered the basic recipe, the fun really begins! Here are my favorite ways to mix things up:
- Vanilla-peppermint swirl – Replace half the peppermint extract with vanilla for a mellower flavor
- Festive colors – Use green food coloring for a candy cane effect, or mix red and white for stripes
- Chocolate-dipped – Melt some chocolate chips and dip half of each cooled peppermint for extra decadence
- Candy cane crunch – Roll the warm balls in crushed candy canes before flattening
The possibilities are endless – just like holiday cheer!
Storing and Serving The Magic of Soft Christmas Peppermints
These peppermints stay wonderfully soft when stored properly – just layer them between sheets of wax paper in an airtight container at room temperature. They’ll keep for about 2 weeks (if they last that long!). I love packing them in little holiday tins for gifts, or piling them high on dessert trays at cookie exchanges. They’re perfect with hot cocoa after caroling!
Nutritional Information
Each peppermint contains about 40 calories – not bad for such a flavor-packed treat! Remember these are estimates; your exact counts may vary slightly based on ingredients used. Enjoy responsibly!
Frequently Asked Questions
Can I use honey instead of corn syrup?
I totally get wanting to swap ingredients – honey seems like a natural alternative, right? But trust me, stick with corn syrup for this recipe. Honey changes the chemistry and makes the peppermints too sticky. My cousin tried it once and ended up with peppermint-flavored glue! If you’re out of corn syrup, golden syrup works in a pinch.
How long do these peppermints stay soft?
Here’s the good news – stored properly in an airtight container with wax paper between layers, they’ll stay beautifully soft for about 2 weeks. After that, they might start to firm up a bit but never get rock-hard like store-bought candies. Pro tip: If they do get a little stiff, pop one in your mouth and let it melt – still delicious!
Can I make these without a candy thermometer?
Okay, confession time – I’ve tried the cold water test method when my thermometer broke mid-recipe. It works… sort of. But getting that perfect soft-but-not-sticky texture is SO much easier with a thermometer. They’re cheap at any grocery store and worth every penny! Without one, you risk ending up with either goo or rocks instead of perfect peppermints.
Got more questions? Drop them in the comments – I love helping troubleshoot holiday baking adventures!
Share Your Holiday Creations
I’d love to see your peppermint masterpieces! Snap a photo of your holiday creations and share them in the comments below – nothing makes me happier than seeing these family traditions come to life in your kitchens!
You can also find more recipe inspiration on Pinterest.
Print
3 Secrets to The Magic of Soft Christmas Peppermints You Must Try
- Total Time: 35 minutes
- Yield: 40 pieces 1x
- Diet: Vegetarian
Description
Make soft Christmas peppermints with this easy recipe. These festive treats are perfect for holiday gatherings.
Ingredients
- 2 cups granulated sugar
- 1/2 cup light corn syrup
- 1/2 cup water
- 1/4 teaspoon cream of tartar
- 1 teaspoon peppermint extract
- Red food coloring (optional)
Instructions
- Combine sugar, corn syrup, water, and cream of tartar in a saucepan.
- Cook over medium heat, stirring until sugar dissolves.
- Stop stirring and let the mixture boil until it reaches 260°F (hard-ball stage).
- Remove from heat and stir in peppermint extract.
- Pour onto a greased baking sheet and let cool slightly.
- Knead the mixture until smooth and form into small balls.
- Flatten each ball with a fork or press into molds.
- Let cool completely before serving.
Notes
- Store in an airtight container to keep them soft.
- Use food coloring for a festive look.
- Work quickly as the mixture hardens fast.
- Prep Time: 15 minutes
- Cook Time: 20 minutes
- Category: Dessert
- Method: Stovetop
- Cuisine: American
Nutrition
- Serving Size: 1 piece
- Calories: 40
- Sugar: 10g
- Sodium: 0mg
- Fat: 0g
- Saturated Fat: 0g
- Unsaturated Fat: 0g
- Trans Fat: 0g
- Carbohydrates: 10g
- Fiber: 0g
- Protein: 0g
- Cholesterol: 0mg