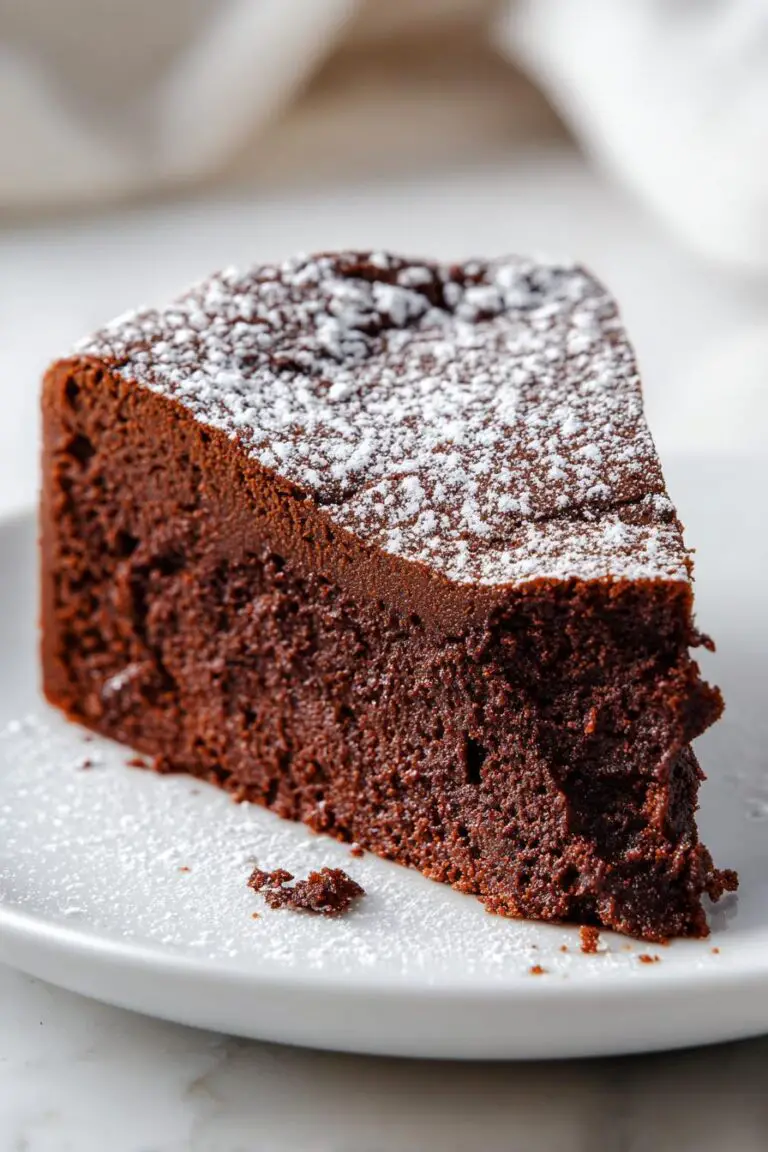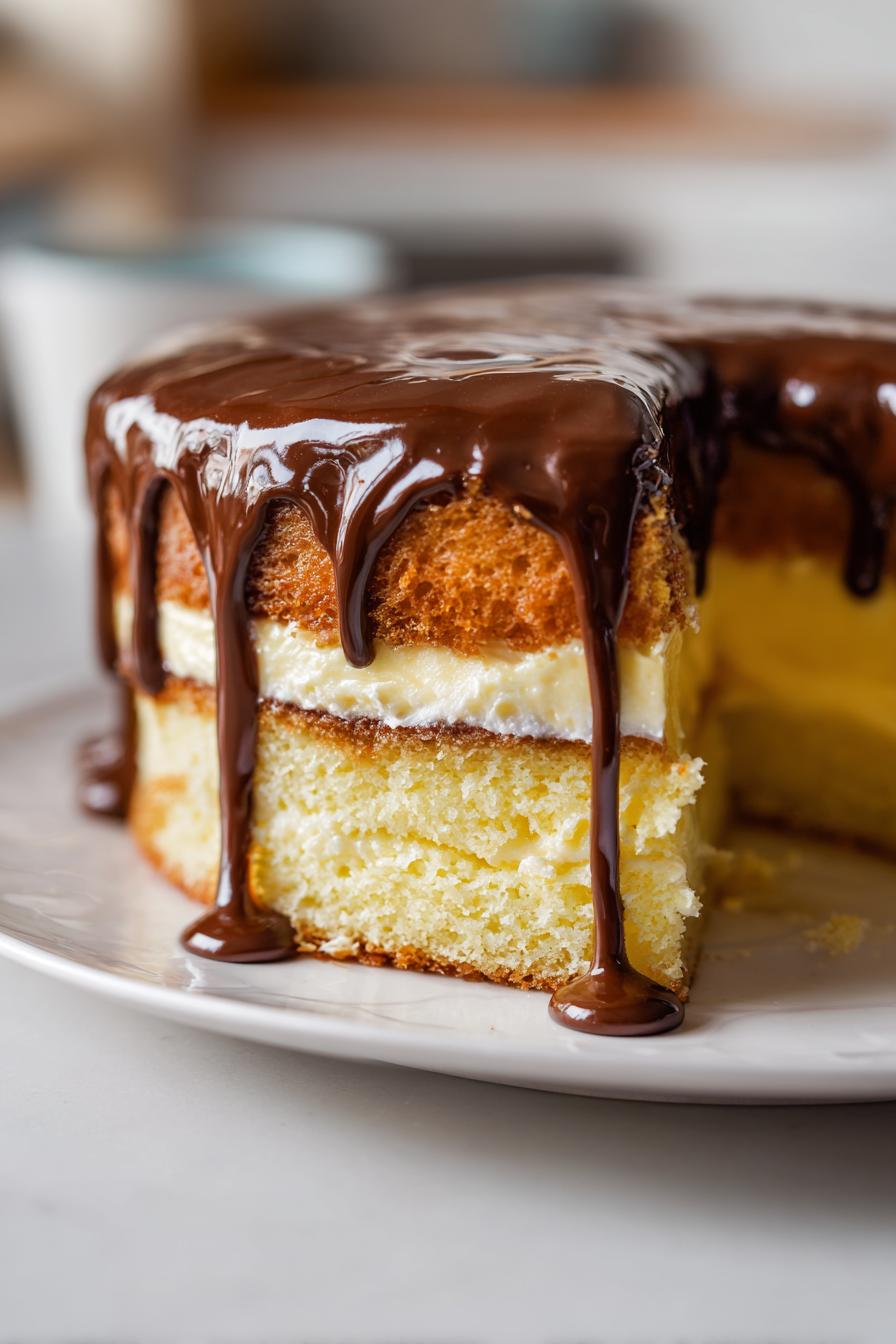
Ultimate Boston Cream Pie Recipe: 1-Hour Dessert Magic
Oh my gosh, let me tell you about my love affair with Boston cream pie! It all started when I first tasted a slice at this little bakery in Boston years ago – one bite and I was hooked. That perfect combo of fluffy vanilla cake, silky custard, and shiny chocolate glaze? Absolute magic. What I love most about this ultimate Boston cream pie recipe is how it brings that fancy bakery taste right to your kitchen without any fuss. Seriously, it’s easier than you think! The secret’s in the simple steps: a tender sponge cake you can whip up in minutes, store-bought or homemade custard (no judgment here!), and a chocolate glaze that comes together with just two ingredients. This is the kind of easy dessert that’ll have your family begging for seconds while thinking you slaved away for hours!
Why You’ll Love This Ultimate Boston Cream Pie Recipe
Trust me, this isn’t just any dessert—it’s the kind of showstopper that feels fancy but secretly comes together like a dream. Here’s why it’s my go-to:
- Quick magic: From mixing bowl to table in about an hour (yes, really!)
- Easy-breezy: No fancy techniques—just simple, foolproof steps
- Flavor bomb: That rich custard and chocolate combo? Pure nostalgia in every bite
- Impress factor: Looks like you spent all day, tastes like a bakery masterpiece
Seriously, one slice and you’ll understand why this recipe never leaves my dessert rotation. You can find more of my favorite sweet treats over on the dessert category!
Ingredients for The Ultimate Boston Cream Pie Recipe You Need
Okay, let’s gather our goodies! Here’s everything you’ll need to create this dreamy dessert (and yes, I’ve learned the hard way – measure everything before you start!):
- 1 1/2 cups all-purpose flour – spooned and leveled, please! No packed flour here
- 1 1/2 tsp baking powder – make sure yours is fresh (I test mine with hot water)
- 1/4 tsp salt – just a pinch to balance the sweetness
- 1/2 cup unsalted butter, softened – leave it out for 30 minutes (finger should leave a slight dent)
- 1 cup granulated sugar – regular white sugar works perfectly
- 2 large eggs – room temperature makes all the difference
- 1 tsp vanilla extract – the good stuff, not imitation
- 1/2 cup whole milk – cold is fine, but not straight from the fridge
- 1 cup custard or pastry cream – homemade or store-bought, no shame!
- 1/2 cup heavy cream – for that luscious chocolate glaze
- 4 oz semisweet chocolate, chopped – or chips if you’re feeling lazy (I won’t tell)
See? Nothing crazy – just simple, quality ingredients that come together like magic! If you want to see more of my recipe collections, check out the main blog page.
Equipment You’ll Need for This Easy Dessert Cake Recipe
Don’t worry – you won’t need any fancy gadgets for this beauty! Here’s what I always grab from my kitchen:
- Two 8-inch round cake pans – the classic size for perfect layers
- Mixing bowls – one large, one medium (I use my grandma’s old yellow ones)
- Hand mixer or stand mixer – though a strong arm and whisk work in a pinch!
- Wire rack – crucial for cooling those cakes evenly
- Offset spatula – my secret weapon for smooth custard spreading
- Saucepan – just a small one for heating the cream
That’s it! Simple tools for a simply amazing dessert.
How to Make The Ultimate Boston Cream Pie Recipe You Need – Step-by-Step
Alright, let’s dive into the magic! I promise this isn’t as complicated as it looks. Just follow these simple steps, and you’ll have a showstopper dessert that’ll make everyone think you trained at a fancy pastry school.
Preparing the Vanilla Sponge Cake
First things first – preheat that oven to 350°F (175°C). While it’s heating up, grab your cake pans and give them a good greasing and flouring. I like to trace parchment paper circles for the bottoms too – makes removal foolproof!
Now, whisk together your dry ingredients – that’s the flour, baking powder, and salt – in a medium bowl. Set this aside while you work on the good stuff. In your large mixing bowl, cream together the softened butter and sugar until it’s light and fluffy (about 2-3 minutes). This is where the magic starts! Add the eggs one at a time, beating well after each, then splash in that glorious vanilla.
Here’s my favorite trick: alternate adding the dry ingredients and milk, starting and ending with the flour mixture. This keeps everything light and airy. Scrape down the sides as you go, but don’t overmix! Divide the batter evenly between your prepared pans (I use a kitchen scale to be exact), smooth the tops, and bake for about 25 minutes. You’ll know they’re done when they’re golden and a toothpick comes out clean.
Let the cakes cool in their pans for 10 minutes – I know it’s tempting to rush this, but patience pays off! Then transfer them to a wire rack to cool completely. Warm cakes plus custard equals a messy disaster – trust me, I’ve been there!
Making the Custard Filling
While your cakes cool, let’s talk custard. You can absolutely use store-bought to save time (my little secret when I’m in a pinch), but homemade pastry cream takes this to another level. Either way, you’ll want about a cup of filling.
Place your bottom cake layer on your serving plate. Now, here’s where that offset spatula comes in handy – spread the custard evenly across the cake, leaving about a half-inch border around the edge (it’ll squish out when you add the top layer). Pro tip: chill the filled layer for 15 minutes before adding the top cake – it helps prevent sliding!
Creating the Chocolate Glaze
This is the fun part! Heat your heavy cream in a small saucepan until it just starts to simmer – watch it carefully because cream boils over in a blink. Pour the hot cream over your chopped chocolate in a heatproof bowl and let it sit for 2 minutes (no peeking!). Then stir gently until you’ve got the smoothest, shiniest chocolate glaze you’ve ever seen.
Working quickly, pour the glaze over the top of your assembled cake, using a spatula to nudge it toward the edges so it drips down the sides in those beautiful streaks. Now comes the hardest part – resist cutting into it immediately! Let it chill for at least 30 minutes to set the glaze. I know, the wait is torture, but that first perfect slice will be worth it! If you want to save this recipe for later, you can find it pinned on our Pinterest board.
Tips for the Perfect Easy Dessert Cake Recipes
After making dozens (okay, maybe hundreds) of these Boston cream pies, I’ve picked up some foolproof tricks that make all the difference. First, room temperature ingredients are non-negotiable – cold eggs and butter just don’t cream properly. Second, that 30-minute chill after glazing? It’s not just for looks – it lets the custard firm up so you get clean slices (though I won’t judge if you sneak a spoonful early!). My favorite hack? Freeze the cake layers for 20 minutes before assembling – it makes spreading the custard so much easier. Oh, and if your glaze is too thick, just add a splash more cream – trust me, it’s saved many a dessert emergency!
Variations for Your Boston Cream Pie
Oh, the fun you can have with this classic! Try using dark chocolate for a richer glaze (my personal favorite), or mix orange zest into the custard for a citrus twist. Feeling adventurous? Swap the vanilla cake for chocolate – I call it my “Boston Cream Pie’s rebellious cousin” and it’s dangerously good!
Serving Suggestions for The Ultimate Boston Cream Pie Recipe You Need
Here’s how I love to serve my Boston cream pie to really make it shine! A piping hot cup of coffee cuts through the sweetness perfectly – it’s like they were made for each other. Fresh berries on the side add a pop of color and freshness. And don’t forget – this beauty deserves to be the star of the show, so serve it on your prettiest cake stand!
Storage & Reheating Instructions
Listen, this cake disappears fast in my house, but if you’ve got leftovers (lucky you!), here’s the scoop: Keep it covered in the fridge – that custard filling needs to stay chilled. It’ll keep beautifully for about 3 days, though the texture’s best within 24 hours. Want a slice at room temp? Just let it sit out for 10 minutes before serving. Pro tip: don’t freeze it – the custard gets weepy (learned that the hard way!).
Nutritional Information for This Easy Dessert Cake Recipe
Okay, let’s be real – we’re not eating Boston cream pie for its health benefits, but here’s the scoop for those curious minds. One generous slice (about 1/8 of the pie) clocks in around 420 calories, with 22g of fat (mostly from all that delicious butter and cream – worth it!). You’re looking at 52g carbs (hey, it’s dessert!), 6g protein from the eggs and milk, and 2g fiber. Now, these numbers can shift a bit depending on your exact ingredients (homemade vs store-bought custard, dark vs milk chocolate, etc.), but they give you a good ballpark. My philosophy? Life’s too short not to enjoy every bite of this heavenly creation!
Frequently Asked Questions About Boston Cream Pie
I get asked about this recipe all the time – here are the questions that pop up most often from fellow bakers!
Can I use a different filling besides custard?
Oh, absolutely! While traditional custard is classic, I’ve had great success with vanilla pudding in a pinch. Just make sure it’s the cooked kind, not instant – the texture needs to hold up between those cake layers. My aunt swears by adding a tablespoon of bourbon to her custard for special occasions (and I won’t argue with her!).
Why did my chocolate glaze turn grainy?
Been there! This usually happens if the cream was too hot or you stirred too vigorously. Next time, let your simmered cream cool for just 30 seconds before pouring over the chocolate, and stir gently in one direction. If it happens, don’t panic – a quick zap in the microwave (5 seconds at a time!) can often save it.
Can I make this ahead of time?
You bet! The cake layers can be baked a day in advance – just wrap them tightly in plastic once cooled. I actually find the flavors meld beautifully when assembled a few hours before serving. Just hold off on the glaze until you’re ready to serve for that perfect glossy finish.
Help! My cake layers stuck to the pan!
First, take a deep breath – we’ve all been there. Next time, try my foolproof method: grease the pan, line the bottom with parchment, then grease the parchment. If disaster strikes, carefully run a thin knife around the edge while the cake’s still warm. Broken pieces? Just use them as your bottom layer – no one will know under all that custard and chocolate!
Share Your Thoughts on This Recipe
Did you make this dreamy Boston cream pie? I’d love to hear how it turned out! Leave a comment below with your baking adventures or any clever twists you tried. Happy baking, friends!
Print
Ultimate Boston Cream Pie Recipe: 1-Hour Dessert Magic
- Total Time: 1 hr 15 mins
- Yield: 8 servings 1x
- Diet: Vegetarian
Description
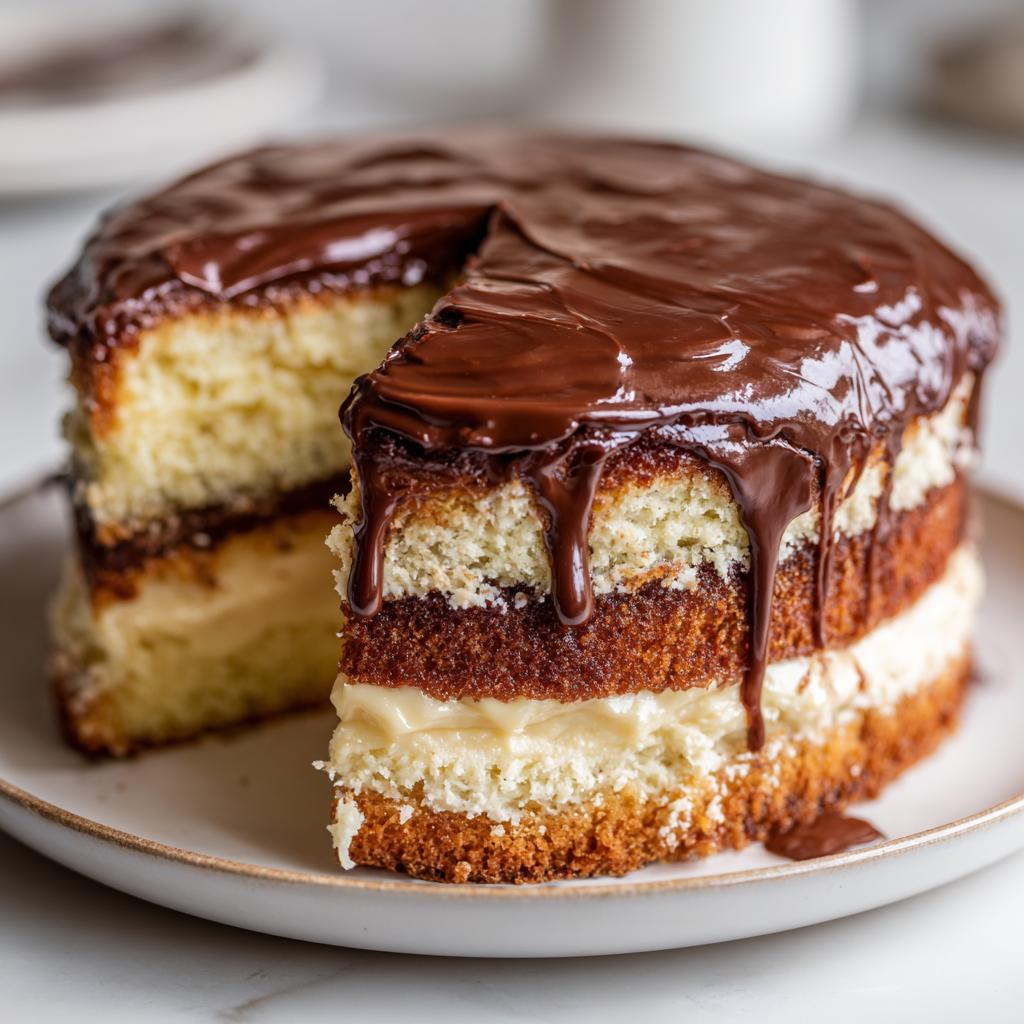
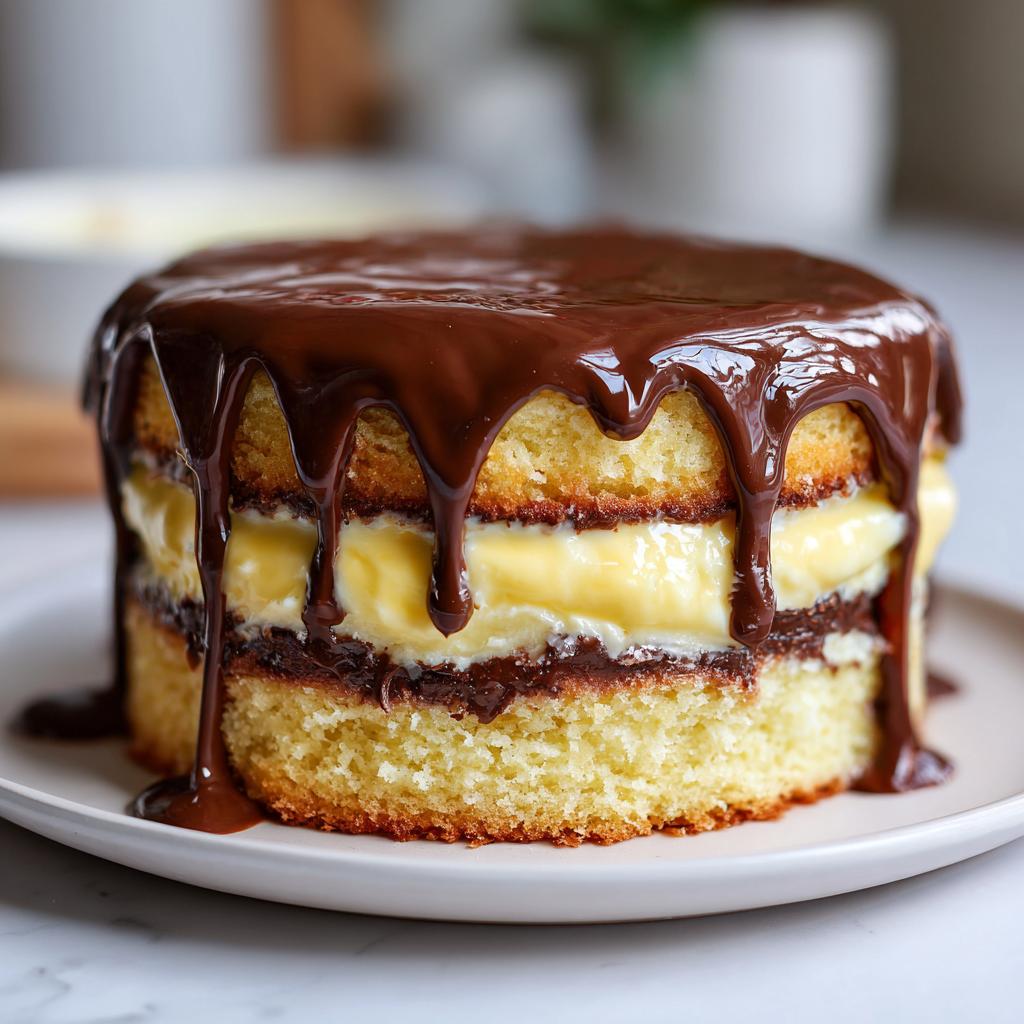
A classic Boston Cream Pie with layers of vanilla sponge cake, rich custard filling, and a smooth chocolate glaze. This easy dessert recipe brings a timeless favorite to your table.
Ingredients
- 1 1/2 cups all-purpose flour
- 1 1/2 tsp baking powder
- 1/4 tsp salt
- 1/2 cup unsalted butter, softened
- 1 cup granulated sugar
- 2 large eggs
- 1 tsp vanilla extract
- 1/2 cup whole milk
- 1 cup custard or pastry cream
- 1/2 cup heavy cream
- 4 oz semisweet chocolate, chopped
Instructions
- Preheat oven to 350°F. Grease and flour two 8-inch round cake pans.
- Whisk flour, baking powder, and salt in a bowl. Set aside.
- Cream butter and sugar until light and fluffy. Beat in eggs one at a time, then add vanilla.
- Alternate adding flour mixture and milk to the butter mixture, beginning and ending with flour.
- Divide batter evenly between pans. Bake for 25 minutes or until a toothpick comes out clean.
- Cool cakes in pans for 10 minutes, then transfer to a wire rack to cool completely.
- Spread custard over one cake layer. Top with the second layer.
- Heat heavy cream until simmering. Pour over chocolate, let sit for 2 minutes, then stir until smooth.
- Pour chocolate glaze over the top cake layer, spreading to the edges. Chill for 30 minutes before serving.
Notes
- Use room temperature ingredients for best results.
- Chill the assembled cake briefly to set the glaze.
- Store leftovers in the refrigerator for up to 3 days.
- Prep Time: 20 mins
- Cook Time: 25 mins
- Category: Dessert
- Method: Baking
- Cuisine: American
Nutrition
- Serving Size: 1 slice
- Calories: 420
- Sugar: 32g
- Sodium: 180mg
- Fat: 22g
- Saturated Fat: 13g
- Unsaturated Fat: 7g
- Trans Fat: 0g
- Carbohydrates: 52g
- Fiber: 2g
- Protein: 6g
- Cholesterol: 95mg