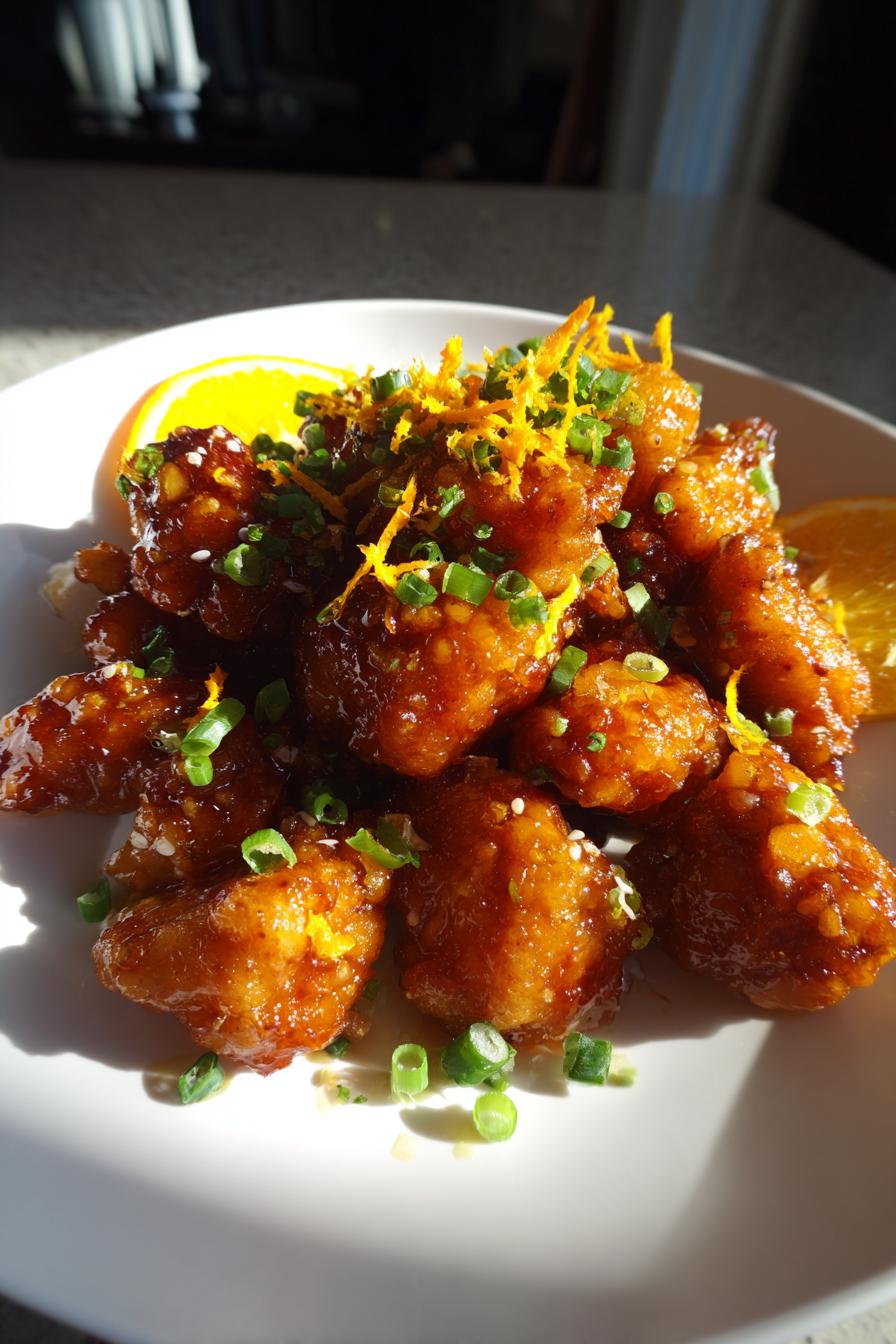
30-Minute Homemade Orange Chicken Recipe That Beats Takeout
Oh my gosh, let me tell you about the first time I made this homemade orange chicken recipe – it was a total game changer! I’d been craving that perfect tangy-sweet takeout flavor, but wanted something fresher and simpler. After some messy kitchen experiments (let’s just say there was a cornstarch incident), I finally nailed down this foolproof version that’s become my go-to weeknight dinner.
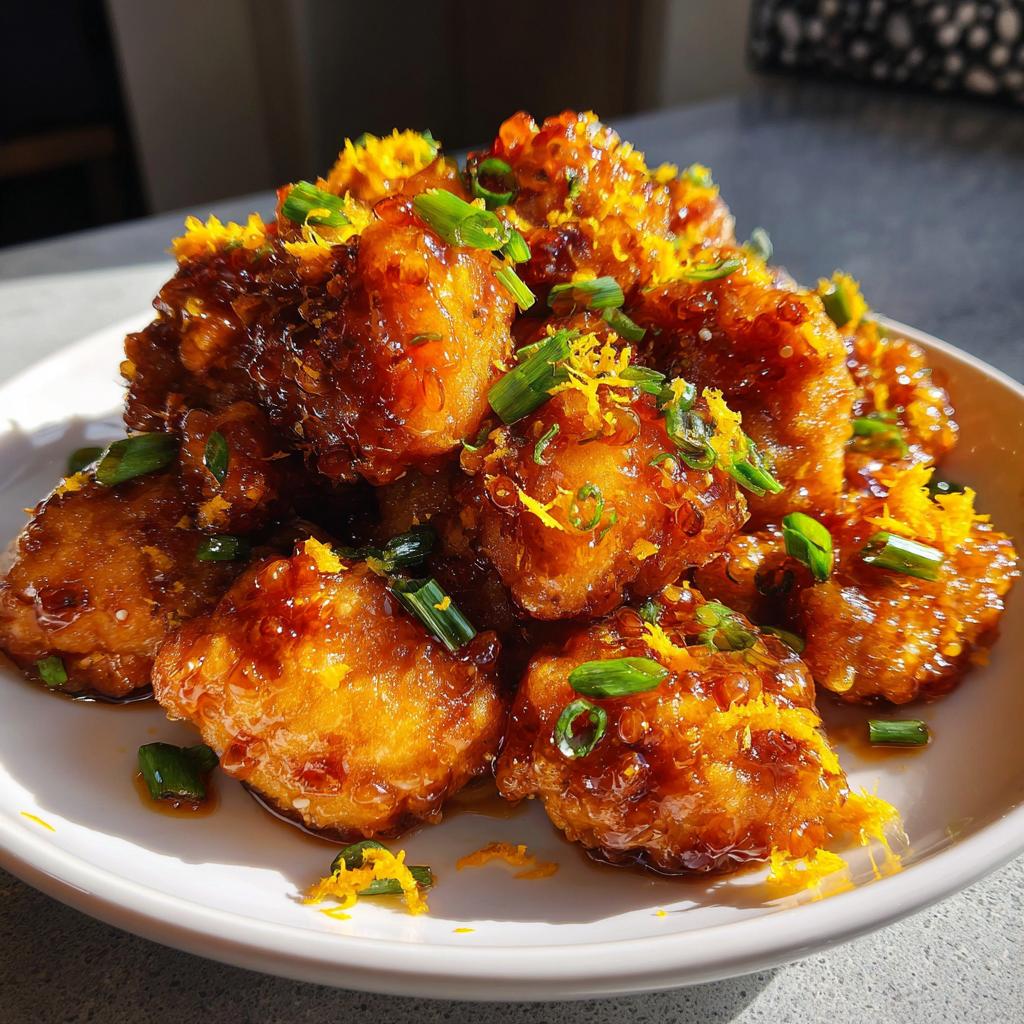
The magic happens in under 30 minutes – crispy golden chicken pieces tossed in this sticky, citrusy glaze that’ll make your taste buds dance. What I love most is how the fresh orange zest brightens everything up, while that hint of ginger and garlic gives it that authentic depth. Trust me, once you try making orange chicken at home, you’ll never look at takeout menus the same way again!
Why You’ll Love This Homemade Orange Chicken Recipe
Listen, I know you’re going to adore this recipe as much as I do – here’s why:
- Weeknight superhero: Ready in 30 minutes flat (even faster than waiting for delivery!)
- Pantry-friendly: Uses ingredients you probably already have, except maybe the fresh orange zest
- Better than takeout: That perfect balance of sweet-tangy-spicy without the greasy aftertaste
- Kid-approved magic: My picky nephew gobbles this up every time (shh…don’t tell him there’s ginger in it)
Seriously, it’s the kind of recipe you’ll scribble on an index card because you’ll be making it that often! Check out more recipe ideas on our Pinterest board!
Ingredients for Homemade Orange Chicken
Here’s everything you’ll need to make this orange chicken sing – and yes, exact measurements matter here! I learned that the hard way when my first attempt turned into orange-flavored glue (oops).
- 1 lb boneless, skinless chicken breast – cut into 1-inch pieces (uniform size cooks evenly)
- 1/2 cup cornstarch – packed lightly (this is your crispy magic dust)
- 1/4 cup all-purpose flour – just regular flour works great
- 1 egg – beaten until smooth (the glue for your crispy coating)
- 2 tbsp vegetable oil – or any neutral oil with high smoke point
For that irresistible orange glaze:
- 1/2 cup orange juice – fresh squeezed tastes amazing, but store-bought works in a pinch
- 2 tbsp soy sauce – the saltiness balances the sweet
- 2 tbsp honey – or maple syrup if you’re out
- 1 tbsp rice vinegar – that tangy kick is essential
- 1 tsp minced garlic – fresh is best, but jarred works
- 1/2 tsp grated ginger – microplane it right into the bowl
- 1/4 tsp red pepper flakes – optional, but adds nice warmth
- 1 tbsp orange zest – the fragrant finishing touch
- 1 tbsp chopped green onions – for that pretty pop of color
Ingredient Notes & Substitutions
No soy sauce? Tamari works beautifully (and makes it gluten-free). Out of honey? Brown sugar dissolves nicely. The red pepper flakes are totally optional – I usually add just a pinch for my spice-wimpy family. And if you’re feeling fancy, a splash of orange liqueur in the sauce takes it to restaurant-level amazing!
Equipment Needed for Homemade Orange Chicken
You won’t need any fancy gadgets for this recipe – just these kitchen basics:
- 2 mixing bowls (one for dry ingredients, one for wet)
- A trusty whisk for blending that gorgeous orange sauce
- 10-inch frying pan (nonstick or cast iron works great)
- Tongs for flipping those chicken pieces without losing coating
That’s it! Now let’s get cooking. For more kitchen tips, check out our latest blog posts.
How to Make Homemade Orange Chicken
Okay, here’s where the magic happens! I’ll walk you through each step just like I learned through trial and (many) errors. Follow these instructions, and you’ll have restaurant-quality orange chicken in no time.
Step 1: Coat the Chicken
First, let’s get that chicken crispy-ready! In one bowl, whisk together your cornstarch and flour – I like to use a fork to break up any lumps. In another bowl, beat that egg until it’s completely smooth (no stringy bits!).
Now the fun part: dip each chicken piece in the egg first – let the excess drip off – then roll it in the flour mixture until fully coated. I use one hand for wet ingredients and one for dry to avoid “breaded fingers syndrome.” Arrange them on a plate as you go – you want each piece looking like it’s wearing a perfect little crispy jacket!
Step 2: Fry to Golden Perfection
Heat your oil in the pan over medium-high heat (about a 7 on most dials). Test it by dropping in a tiny bit of flour – if it sizzles immediately, you’re golden (pun intended).
Carefully add your chicken pieces in a single layer – don’t overcrowd! I do batches if needed. Fry for about 2-3 minutes per side until they’re that beautiful golden brown color we’re after. The smell at this point is absolutely heavenly! Transfer them to a paper towel-lined plate to drain while we make the sauce.
Step 3: Prepare the Orange Sauce
Wipe out any burnt bits from the pan (but leave those delicious browned bits!), then reduce heat to medium. In a bowl, whisk together orange juice, soy sauce, honey, vinegar, garlic, ginger, and pepper flakes until smooth.
Pour this liquid gold into the pan and let it simmer for about 3 minutes – you’ll see it start to thicken slightly and become glossy. Give it a quick taste – this is when I usually adjust with a bit more honey or vinegar depending on my mood!
Step 4: Combine and Serve
Now for the grand finale! Return all the crispy chicken to the pan with the sauce. Gently toss until every piece is beautifully coated – I use tongs for this dance to keep the coating intact.
Sprinkle with that vibrant orange zest and green onions right before serving. The zest adds such a fresh pop of flavor – don’t skip it! Serve immediately while it’s hot and crispy. Watch how fast it disappears!
Tips for Perfect Homemade Orange Chicken
Listen, after burning my fair share of chicken (and one memorable smoke alarm incident), I’ve learned a few tricks to guarantee orange chicken perfection every time:
- Double-fry for extra crunch: Let fried pieces rest 5 minutes, then fry again for 1 minute – it’s life-changingly crispy!
- Adjust the heat: Start with 1/8 tsp red pepper flakes if you’re spice-shy – you can always add more later.
- Zest first, juice second: Always zest your orange before juicing – trying to zest a juiced orange is a slippery mess!
- Dry chicken = better coating: Pat pieces dry with paper towels before breading – moisture is the enemy of crispiness.
Oh! And if your sauce thickens too much, just splash in a tablespoon of warm water to loosen it up. You’re welcome!
Serving Suggestions for Homemade Orange Chicken
Oh, the possibilities! My favorite way? Piled high over steaming jasmine rice – it soaks up that glorious sauce like a dream. But don’t stop there! Try it with:
- Fluffy white rice (the classic pairing)
- Lo mein noodles for a takeout-at-home vibe
- Steamed broccoli or snap peas for a veggie boost
- Pineapple fried rice when you’re feeling fancy
Pro tip: Double the sauce recipe if you’re serving with rice – you’ll want every last drop! If you enjoy Asian-inspired flavors, you might also like our Chicken Stir Fry with Noodles.
Storage & Reheating Instructions
Here’s the good news – leftovers taste almost as amazing as fresh! Store any uneaten orange chicken in an airtight container in the fridge for up to 3 days. When reheating, I always use a pan over medium heat with a splash of water to revive that glossy sauce texture. The microwave works in a pinch (about 1 minute, stirring halfway), but fair warning – the coating won’t stay quite as crispy. My sneaky trick? Toss leftovers into a fresh salad the next day – the chilled orange chicken makes an incredible protein topping!
Homemade Orange Chicken Recipe FAQs
I get asked these questions all the time – here are my tried-and-true answers from years of making this recipe:
Can I bake instead of fry? Absolutely! Arrange breaded chicken on a greased baking sheet at 400°F for 20 minutes, flipping halfway. It won’t get quite as crispy, but still delicious. Spritz with oil before baking for extra crunch.
How to make it gluten-free? Easy swap – use tamari instead of soy sauce and swap the flour for more cornstarch or gluten-free flour blend. I’ve done this for my gluten-free friends and they raved!
Can I use chicken thighs? You bet! Thighs stay juicier and add richer flavor. Just trim excess fat and cut into uniform pieces so they cook evenly.
Why is my sauce too thin? Let it simmer longer – up to 5 minutes. If still too runny, mix 1 tsp cornstarch with 1 tbsp cold water and stir it in.
Can I prep components ahead? Yes! Bread the chicken and refrigerate up to 4 hours before frying. Make the sauce up to 3 days ahead – just reheat gently before using. For other quick dinner ideas, browse our Dinner and Lunch category.
Nutritional Information
Just a quick note – these nutritional estimates can vary based on your specific ingredients and brands. The values per serving include that perfect balance of protein from the chicken and carbs from the crispy coating and sweet glaze. Remember, homemade always lets you control what goes in!
Now go try this recipe and tell me how it turns out – I can’t wait to hear your orange chicken success stories!
Print
30-Minute Homemade Orange Chicken Recipe That Beats Takeout
- Total Time: 30 minutes
- Yield: 4 servings 1x
- Diet: Low Lactose
Description
A simple and delicious homemade orange chicken recipe with a tangy, sweet glaze.
Ingredients
- 1 lb boneless, skinless chicken breast, cut into bite-sized pieces
- 1/2 cup cornstarch
- 1/4 cup all-purpose flour
- 1 egg, beaten
- 2 tbsp vegetable oil
- 1/2 cup orange juice
- 2 tbsp soy sauce
- 2 tbsp honey
- 1 tbsp rice vinegar
- 1 tsp minced garlic
- 1/2 tsp grated ginger
- 1/4 tsp red pepper flakes (optional)
- 1 tbsp orange zest
- 1 tbsp chopped green onions (for garnish)
Instructions
- In a bowl, mix cornstarch and flour.
- Dip chicken pieces in beaten egg, then coat with the flour mixture.
- Heat oil in a pan over medium-high heat. Fry chicken until golden brown (about 5 minutes). Remove and set aside.
- In a separate bowl, whisk orange juice, soy sauce, honey, rice vinegar, garlic, ginger, and red pepper flakes.
- Pour the sauce into the pan and simmer for 3 minutes until slightly thickened.
- Add the fried chicken back to the pan, tossing to coat evenly.
- Garnish with orange zest and green onions before serving.
Notes
- For extra crispiness, double-fry the chicken.
- Adjust red pepper flakes for more or less heat.
- Serve with steamed rice or noodles.
- Prep Time: 15 minutes
- Cook Time: 15 minutes
- Category: Main Dish
- Method: Pan-Frying
- Cuisine: Asian-Inspired
Nutrition
- Serving Size: 1 serving
- Calories: 320
- Sugar: 12g
- Sodium: 450mg
- Fat: 10g
- Saturated Fat: 2g
- Unsaturated Fat: 6g
- Trans Fat: 0g
- Carbohydrates: 30g
- Fiber: 1g
- Protein: 25g
- Cholesterol: 90mg