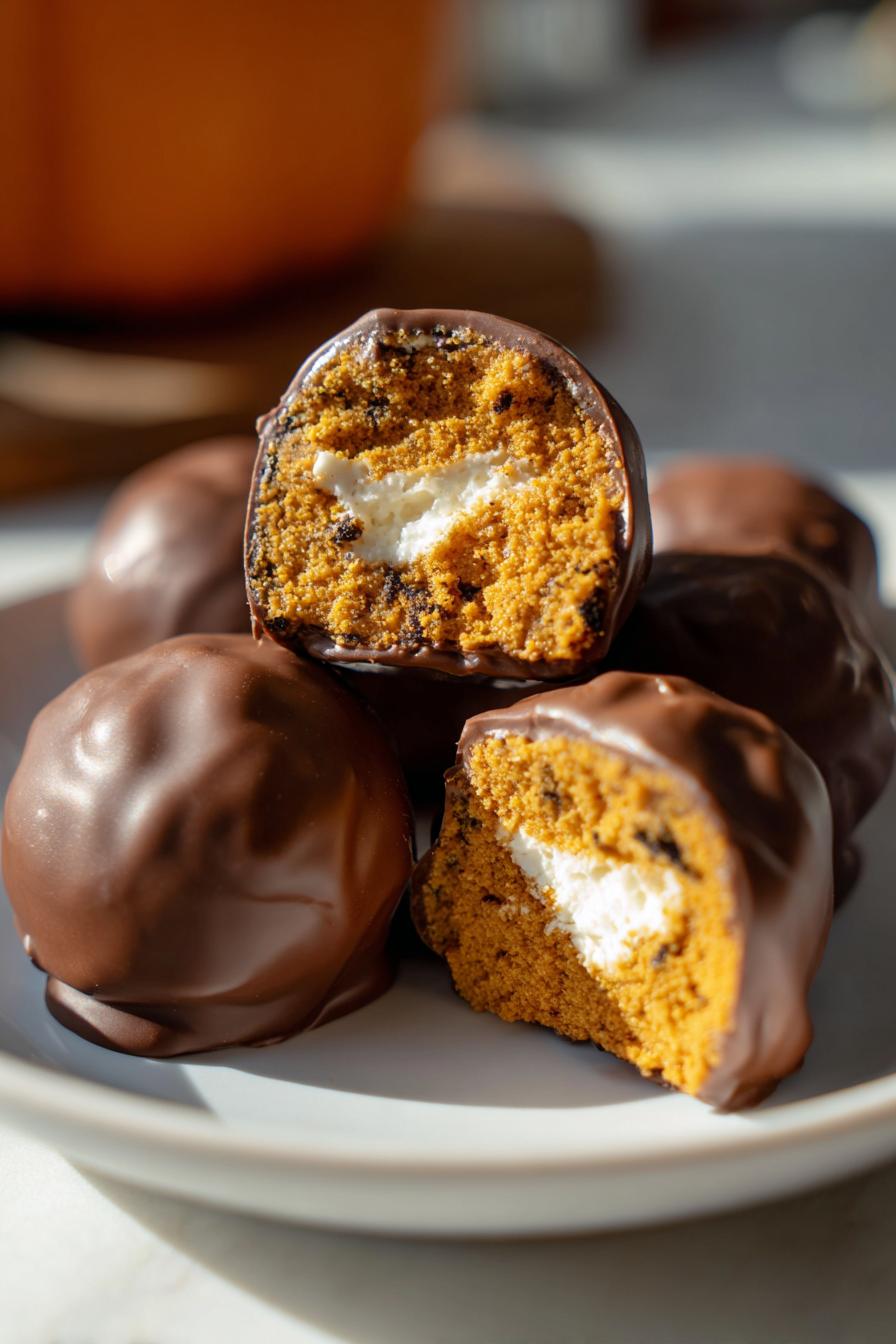
Irresistible Pumpkin Oreo Balls Ready in Just 2 Hours
You know those recipes that make you look like a kitchen genius with almost zero effort? That’s exactly what these Pumpkin Oreo Balls are – my go-to when I need a last-minute treat that wows everyone. I discovered this magical combo during a frantic Thanksgiving prep years ago when I needed something quick but impressive. The moment I tasted that first batch – creamy pumpkin-spiced Oreo centers dipped in smooth white chocolate – I knew I’d struck gold. Now my friends beg me to bring these to every fall gathering, and honestly? I don’t mind one bit because they’re embarrassingly easy to make. No oven required, just pure pumpkin-spiced deliciousness ready in about an hour (most of which is hands-off chilling time).
Why You’ll Love These Pumpkin Oreo Balls
Let me count the ways these little bites will become your new fall obsession:
- No oven required – Perfect for when it’s still too warm to bake but you’re craving those cozy autumn flavors
- Ready in under 2 hours – Most of that time is just hands-off chilling (aka perfect for multitasking!)
- Only 6 simple ingredients – Probably already in your pantry right now
- Impressively festive – That white chocolate coating makes them look fancy when really? So easy
- Kid-approved magic – My niece calls them “pumpkin cookie dough bites” and honestly? She’s not wrong
Ingredients for Pumpkin Oreo Balls
Gather these simple ingredients – I promise you probably have most already! The key here is using real pumpkin puree (not pie filling – that’s way too sweet) and properly softened cream cheese (leave it out for 30 minutes, no cheating with the microwave!). Here’s what you’ll need:
- 1 package (14.3 oz) Oreos – I use original, but golden Oreos work too for a different twist
- 1/2 cup pumpkin puree (Libby’s is my go-to)
- 4 oz cream cheese, softened (Philadelphia works best for that perfect creamy texture)
- 1 tsp pumpkin pie spice (or make your own blend if you’re fancy)
- 1/2 tsp cinnamon (because you can never have too much warmth)
- 2 cups white chocolate chips (Ghirardelli melts like a dream)
- 1 tbsp coconut oil (this is the secret for that glossy, crack-free coating)
How to Make Pumpkin Oreo Balls
Okay, let’s get to the fun part! These Pumpkin Oreo Balls come together so easily – just follow these simple steps and you’ll have a tray of deliciousness in no time. Trust me, the hardest part is waiting for them to chill before eating!
Step 1: Crush the Oreos
First, pulverize those Oreos! I throw the whole cookies (cream filling and all) into my food processor and let it run until I’ve got fine, even crumbs – no big chunks allowed! If you don’t have a processor, no worries – just pop the cookies in a ziplock bag and roll them with a rolling pin until they’re dust. You’ll know it’s right when the crumbs hold together when you pinch them.
Step 2: Mix the Dough
Now, the magic happens! In a big bowl, mix your Oreo crumbs with the pumpkin puree, softened cream cheese, and spices. I use a rubber spatula at first, then get in there with clean hands to really work it together. You want it fully combined – think cookie dough texture – but don’t overmix or it’ll get gummy. The dough should be slightly sticky but hold its shape when rolled.
Step 3: Shape and Freeze
Time to make little pumpkin orbs! Scoop about a tablespoon of dough and roll into 1-inch balls – I use a small cookie scoop for perfect uniformity. Place them on a parchment-lined baking sheet, then pop them in the freezer for 30 minutes. This chill time is CRUCIAL – it firms them up so they don’t fall apart during dipping!
Step 4: Melt the Chocolate
While the balls are chilling, melt your white chocolate chips with the coconut oil. I do this in 30-second microwave bursts, stirring between each, until it’s smooth as silk. The coconut oil keeps the chocolate fluid and prevents that weird chalky texture. If you’re fancy, use a double boiler – but honestly, the microwave works great if you’re careful not to overheat it.
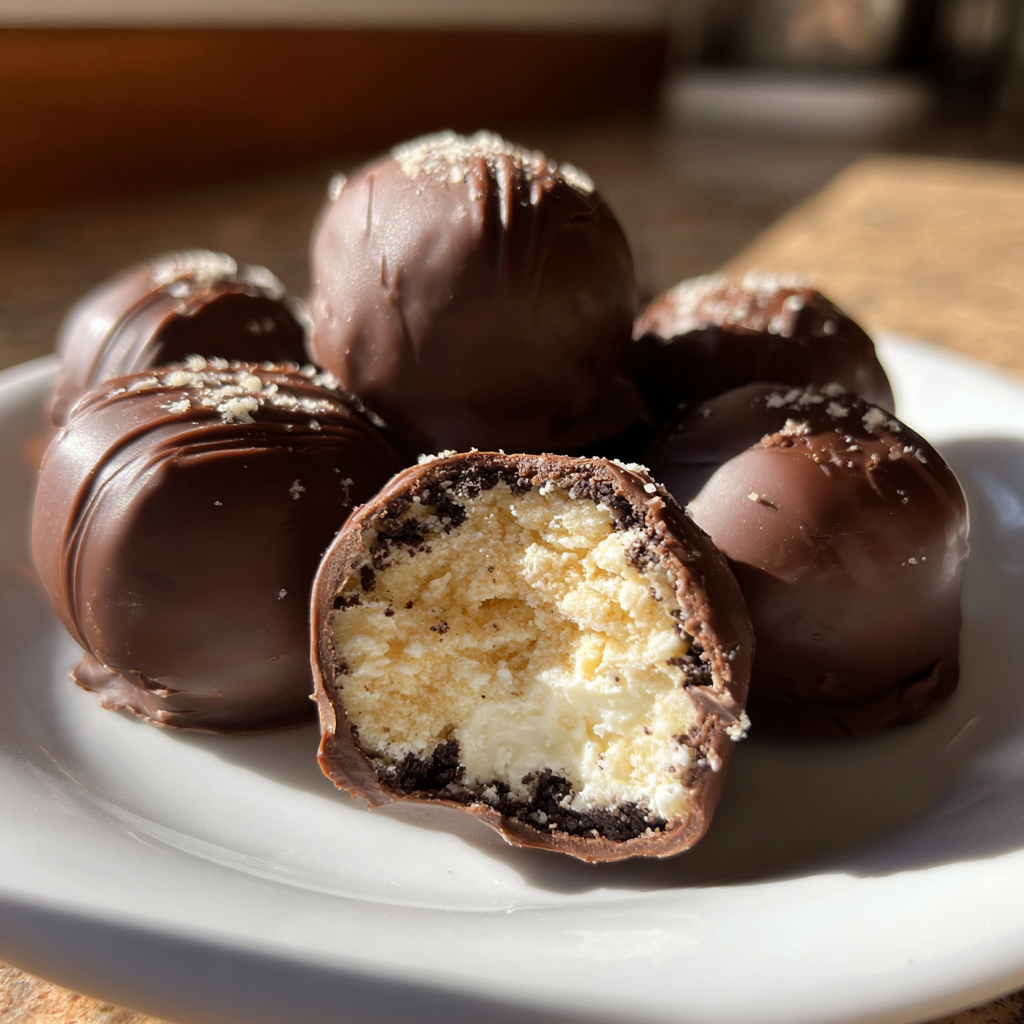
Step 5: Dip and Chill
Here’s where the magic happens! Using a fork, gently dip each frozen ball into the melted chocolate, letting excess drip off before placing them back on the parchment. Pro tip: Tap the fork gently on the bowl’s edge to shake off extra chocolate. If you’re feeling extra, sprinkle them with a little cinnamon while the chocolate’s still wet. Finally, refrigerate for at least an hour – I know, the wait is torture – until the chocolate sets completely.

Tips for Perfect Pumpkin Oreo Balls
After making dozens of batches (okay, maybe hundreds), I’ve learned all the tricks for pumpkin Oreo ball perfection. If your dough feels too sticky, pop it in the fridge for 15 minutes – that extra chill makes rolling so much easier. For the chocolate, keep it warm in a bowl of hot water if it starts thickening mid-dip. Want to get fancy? Sprinkle crushed graham crackers or drizzle with caramel before the chocolate sets. And if you’re gifting them? Mini cupcake liners make them look adorable!
Ingredient Substitutions and Notes
Let’s talk swaps! First – pumpkin puree is NOT the same as pie filling (that stuff’s already sweetened and spiced). If you’re gluten-free, use GF Oreos – they work just as well! Dairy-free? Swap in vegan cream cheese and dairy-free white chocolate. Out of coconut oil? A teaspoon of vegetable oil works in a pinch, though the chocolate won’t set quite as nicely. See? Easy fixes!
Storage and Serving Suggestions
Once those beauties are set, store them in an airtight container in the fridge – they’ll stay perfect for up to 5 days (if they last that long!). I love serving these with coffee for a grown-up treat or cold milk for the kids. They make amazing edible gifts too – just pop a few in a cute box with some fall-themed tissue paper. My neighbors still talk about the “fancy truffles” I gave them last year (little do they know how easy they were!).
Nutritional Information
Just so you know what you’re indulging in (no judgment here!): Each Pumpkin Oreo Ball clocks in at about 120 calories, with 9g sugar and 6g fat. Remember, these are estimates – actual amounts may vary slightly based on your exact ingredients and portion sizes. But hey, with pumpkin in there, we can pretend they’re basically a vegetable, right?
Frequently Asked Questions
Can I use dark chocolate instead of white chocolate? Absolutely! Dark chocolate pairs beautifully with the pumpkin spice flavors – just keep the coconut oil in for that perfect smooth dip.
How do I fix cracked chocolate coating? Oops! Just re-melt a bit of chocolate, dab it over the cracks with a toothpick, and chill again – good as new.
Can I freeze Pumpkin Oreo Balls for later? You bet! Freeze them undipped for up to 2 months – thaw slightly before coating, or dip while frozen and add a minute to chilling time.
For more delicious recipes and inspiration, check out our Pinterest page!
Print
Irresistible Pumpkin Oreo Balls Ready in Just 2 Hours
- Total Time: 1 hr 50 mins (includes chilling)
- Yield: 24 balls 1x
- Diet: Vegetarian
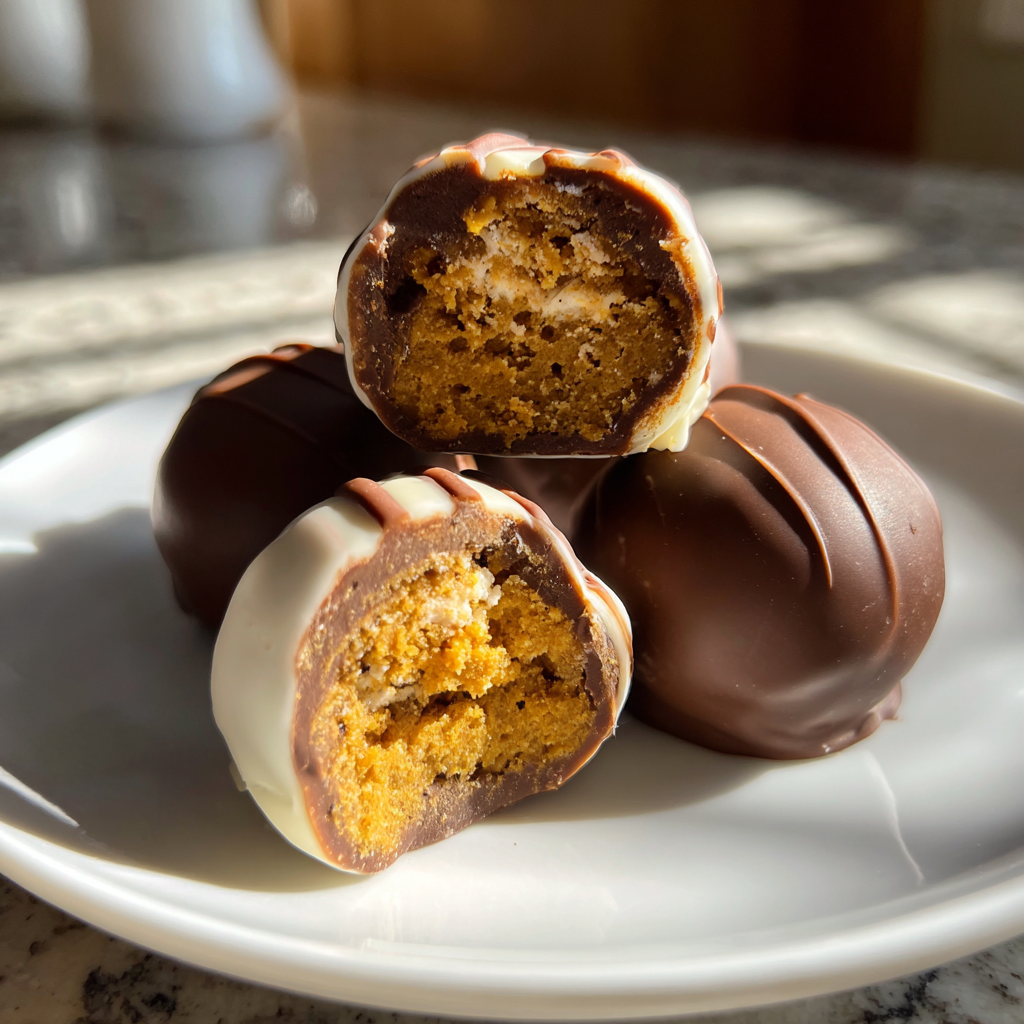
Description
Delicious no-bake Pumpkin Oreo Balls made with crushed Oreos, cream cheese, and pumpkin puree, coated in white chocolate.
Ingredients
- 1 package (14.3 oz) Oreo cookies
- 1/2 cup pumpkin puree
- 4 oz cream cheese, softened
- 1 tsp pumpkin pie spice
- 1/2 tsp cinnamon
- 2 cups white chocolate chips
- 1 tbsp coconut oil
Instructions
- Crush Oreos into fine crumbs using a food processor.
- In a bowl, mix Oreo crumbs, pumpkin puree, cream cheese, pumpkin pie spice, and cinnamon until well combined.
- Roll the mixture into 1-inch balls and place them on a baking sheet lined with parchment paper.
- Freeze the balls for 30 minutes to firm up.
- Melt white chocolate chips and coconut oil together, stirring until smooth.
- Dip each ball into the melted chocolate, then return to the baking sheet.
- Refrigerate for 1 hour or until set.
Notes
- Use a fork to dip the balls for even coating.
- Store in an airtight container in the fridge for up to 5 days.
- For extra flavor, sprinkle with cinnamon before the chocolate sets.
- Prep Time: 20 mins
- Cook Time: 0 mins
- Category: Dessert
- Method: No-Bake
- Cuisine: American
Nutrition
- Serving Size: 1 ball
- Calories: 120
- Sugar: 9g
- Sodium: 60mg
- Fat: 6g
- Saturated Fat: 3g
- Unsaturated Fat: 2g
- Trans Fat: 0g
- Carbohydrates: 15g
- Fiber: 0.5g
- Protein: 1g
- Cholesterol: 5mg