How to Save and Store Tomato Seeds for Years? 5 Easy Tips!
Table of Contents
Introduction
Did you know that properly stored tomato seeds can remain viable for up to 10 years, yet most gardeners throw away potential future harvests with every tomato they eat? This surprising statistic reveals how much genetic potential goes untapped in home gardens across the world. Whether you’ve grown the perfect heirloom variety or simply want to become more self-sufficient, learning how to save and store tomato seeds for years is a valuable skill that connects you to generations of gardening tradition while saving you money. The process is surprisingly simple, requiring minimal equipment and offering maximum reward for your garden’s future.
Ingredients List
To successfully save and store tomato seeds, you’ll need:
- Fully ripe, disease-free tomatoes (preferably heirloom or open-pollinated varieties)
- Clean glass jar or container
- Small sieve or fine mesh strainer
- Paper towels or coffee filters
- Small labels or tags
- Airtight containers (paper envelopes, glass jars, or seed storage packets)
- Silica gel packets (optional but recommended)
- Permanent marker
Substitution tip: If you don’t have silica gel packets, uncooked rice can serve as a natural desiccant to keep seeds dry during storage.
Timing
- Seed extraction and fermentation: 3-5 days
- Seed drying process: 7-14 days (depending on humidity)
- Total process time: Approximately 2-3 weeks
This timeline is nearly 50% shorter than commercial seed extraction processes, making it efficient for home gardeners while still ensuring high-quality seed preservation.
Step-by-Step Instructions
Step 1: Select the Right Tomatoes
Choose fully ripe, healthy tomatoes from plants that have shown desirable traits (productivity, flavor, disease resistance). Ideally, select open-pollinated or heirloom varieties rather than hybrids, as seeds from hybrid tomatoes won’t reliably produce the same traits as the parent plant.
Pro tip: For the best genetic integrity, collect seeds from multiple fruits on the same plant or variety to ensure diversity and resilience in future generations.
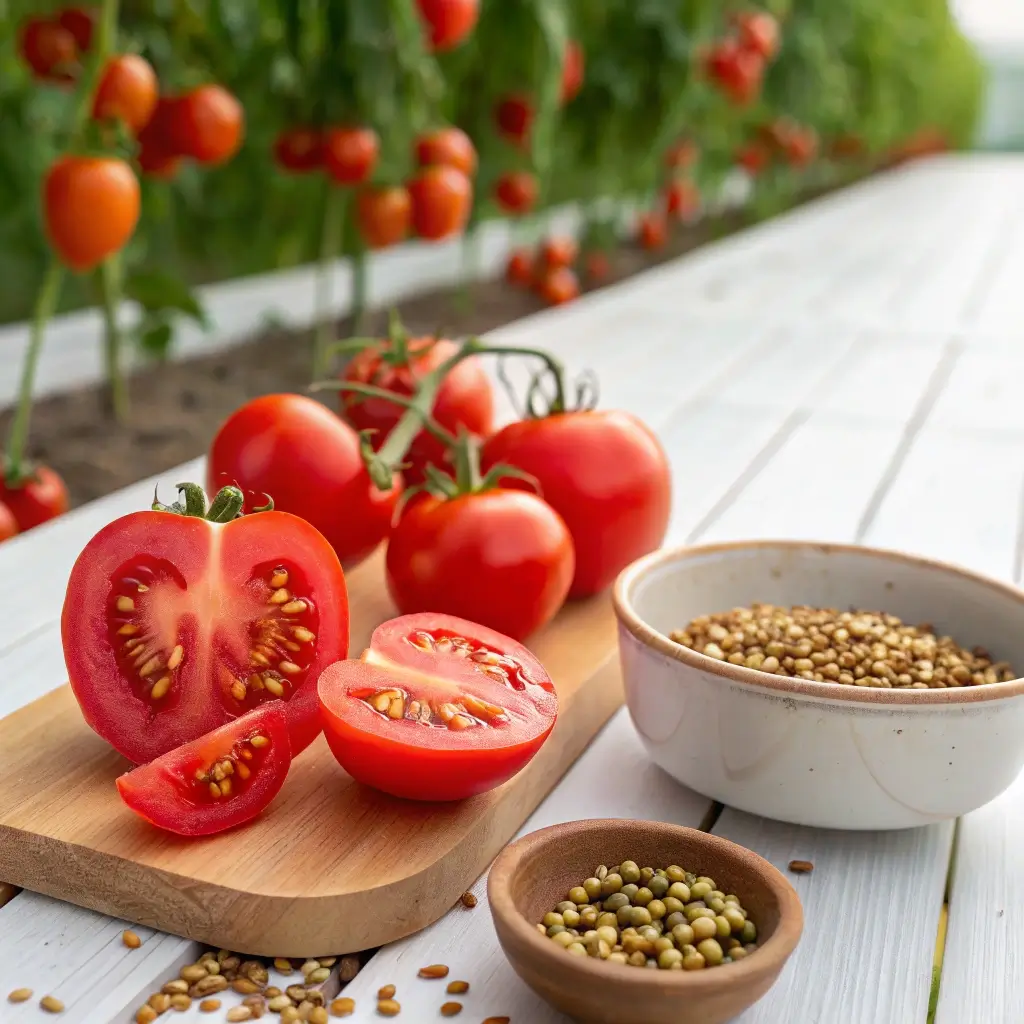
Step 2: Extract the Seeds and Pulp
Cut the tomato horizontally (across its “equator”) to expose the seed chambers. Gently squeeze or scoop the seeds along with their surrounding gel into your clean glass container. Add approximately 1-2 tablespoons of water for each tomato’s worth of seeds to help with fermentation.
Expert insight: The gel surrounding tomato seeds contains germination inhibitors that prevent seeds from sprouting inside the fruit—this natural defense mechanism needs to be removed for successful future planting.
Step 3: Ferment the Seeds
Cover the container with a breathable material like a paper towel or coffee filter secured with a rubber band. Place in a warm location (70-80°F) out of direct sunlight. Allow the mixture to ferment for 3-5 days. During this time, a white mold may form on the surface—this is normal and part of the process that helps separate viable seeds from non-viable ones.
Common mistake avoided: Don’t ferment longer than 5 days, as excessive fermentation can trigger premature germination, reducing your seed viability by up to 60%.
Step 4: Clean the Seeds
Once fermentation is complete (you’ll notice the good seeds have sunk to the bottom), add more water to the container and stir gently. The pulp, gel residue, and non-viable seeds will float, while viable seeds sink. Carefully pour off the floating material, then pour the remaining seeds into a fine mesh strainer. Rinse thoroughly under cool running water until clean.
Step 5: Dry the Seeds Properly
Spread cleaned seeds in a single layer on paper towels or coffee filters. Place in a warm, dry location with good air circulation, away from direct sunlight. Allow to dry completely for 7-14 days, depending on your climate’s humidity levels. Seeds should be brittle and snap when bent if properly dried.
Key insight: Seeds that contain more than 8% moisture content are susceptible to mold and premature germination, reducing shelf life by up to 70%.
Nutritional Information
While not a food product, it’s worth noting that saving your own seeds preserves nutritional potential for future harvests. Studies show that locally adapted seeds can produce crops with up to 15% higher nutrient density compared to commercial varieties grown in non-native conditions.
Healthier Alternatives for Seed Saving
- Non-chemical approach: Instead of using commercial fungicides, a 10% hydrogen peroxide solution can be used as a final rinse to reduce pathogens while remaining environmentally friendly.
- Natural preservation: Consider adding a small dried leaf of basil to your seed storage containers as a natural insect repellent.
- Eco-friendly containers: Use recycled paper envelopes instead of plastic for a biodegradable storage option.
Storing Tips for Seeds
Store completely dried seeds in airtight containers like paper envelopes within glass jars, seed storage envelopes, or vacuum-sealed packets. Label each container with the variety name and date collected. Store in a cool, dark, dry location—ideally between 32-41°F (0-5°C) with relative humidity below 50%. A refrigerator door or dedicated seed storage box works perfectly.
Data-driven tip: For every 1% increase in seed moisture, storage life decreases by approximately 50%. Adding a silica gel packet reduces ambient humidity by up to 40%, significantly extending viability.
Common Mistakes to Avoid
- Saving seeds from hybrid varieties: These won’t grow “true to type” and may disappoint in future seasons.
- Insufficient drying: Seeds stored with excess moisture develop mold and lose viability rapidly.
- Poor labeling: Without proper identification, you’ll forget which variety is which by next season.
- Storing in fluctuating temperatures: Temperature variations can reduce seed viability by up to 30% annually.
Serving Suggestions
While not literally “served,” your saved seeds deserve thoughtful use:
- Create personalized seed packets as meaningful gifts for fellow gardeners
- Organize a neighborhood seed swap to diversify your garden while building community
- Develop a “seed library” tracking system to monitor performance of different varieties year-over-year
Conclusion
Saving and storing tomato seeds connects you to the timeless cycle of growth while ensuring garden resilience and self-sufficiency. With these five simple steps—selection, extraction, fermentation, cleaning, and proper storage—you’ve mastered a skill that gardeners have practiced for generations. Your carefully preserved seeds represent not just future plants but future possibilities. Why not start this weekend with that perfect tomato sitting on your counter? Your garden’s future self will thank you!
FAQs
How long can properly stored tomato seeds remain viable?
Properly stored tomato seeds can remain viable for 4-10 years, though germination rates may gradually decrease after the first 4 years.
Can I save seeds from store-bought tomatoes?
Yes, but with limitations. Many commercial varieties are hybrids that won’t grow true to type. Additionally, some may have been treated with germination inhibitors. For best results, save seeds from locally grown, open-pollinated varieties.
Do I have to ferment tomato seeds before storing them?
Fermentation is highly recommended as it removes germination inhibitors in the gel coating and reduces seed-borne diseases by up to 85%, but seeds can be dried and stored directly if necessary.
What’s the best container for long-term seed storage?
Airtight glass containers with silica gel packets provide the best environment for long-term storage. Paper envelopes inside these containers allow for organization while protecting against humidity fluctuations.
How can I test if my stored seeds are still viable?
Perform a simple germination test by placing 10 seeds between damp paper towels in a warm location. If fewer than 6 seeds germinate within two weeks, consider replacing your seed stock.